

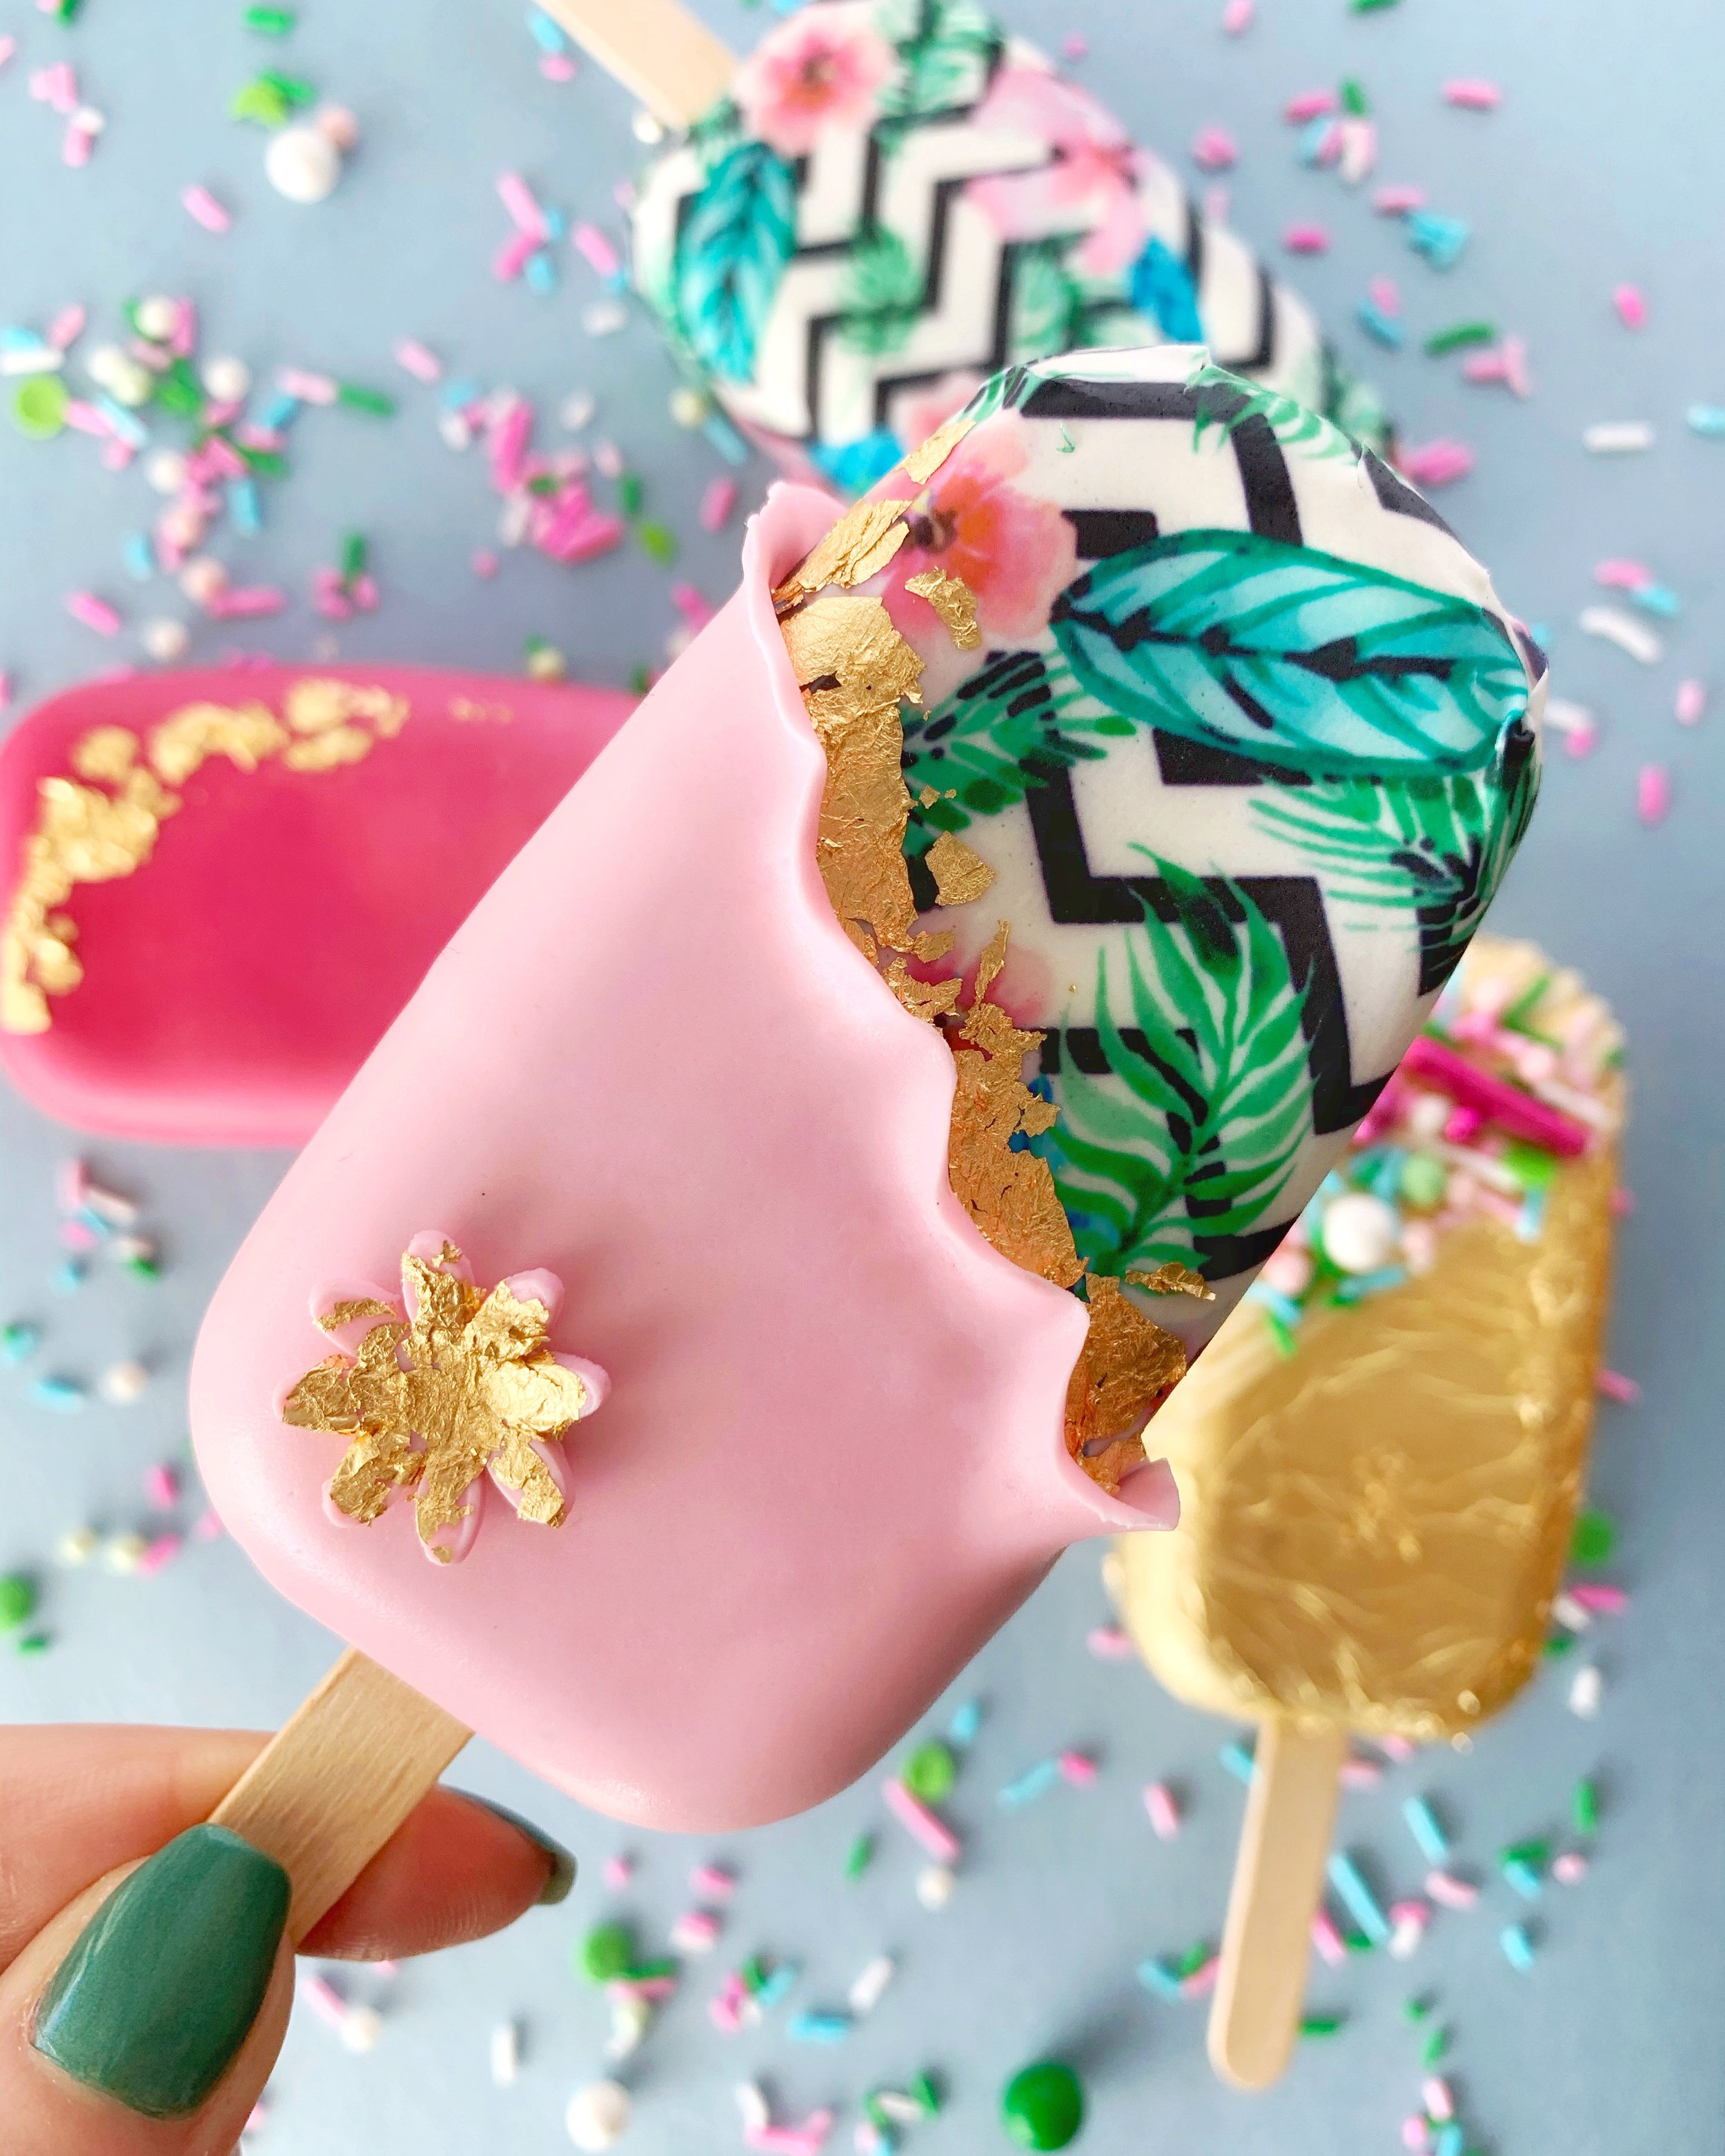
10 Cakesicle Ideas for Summer

The sun is shining, the sky is blue, and the air is warm. Summer is all about embracing vibrant colours, fresh flavours, and a carefree attitude! I’ve been obsessed with creating beautiful and challenging Cakesicles for the past few years; if you’re not familiar with Cakesicles, they are very similar to cake pops in taste but used with different molds and decorated in different ways.
So let’s dive in together into the world of Cakesicles, summer edition ☀️
Watermelon Cakesicle 🍉

If you’re like me and love watermelons, you’re gonna love this mold that I used to make this cakesicle! Although, this should be technically filled with a cake mixture, I decided to fill it with Marshmallow fluff 😋 but you can use any filling you want!
This whole treat is made using chocolate and I used 5 different types of oil based colours to create this. If you want a full tutorial, you can visit this blog post.
For the short tutorial, click here.
2. Pineapple Cakesicle 🍍
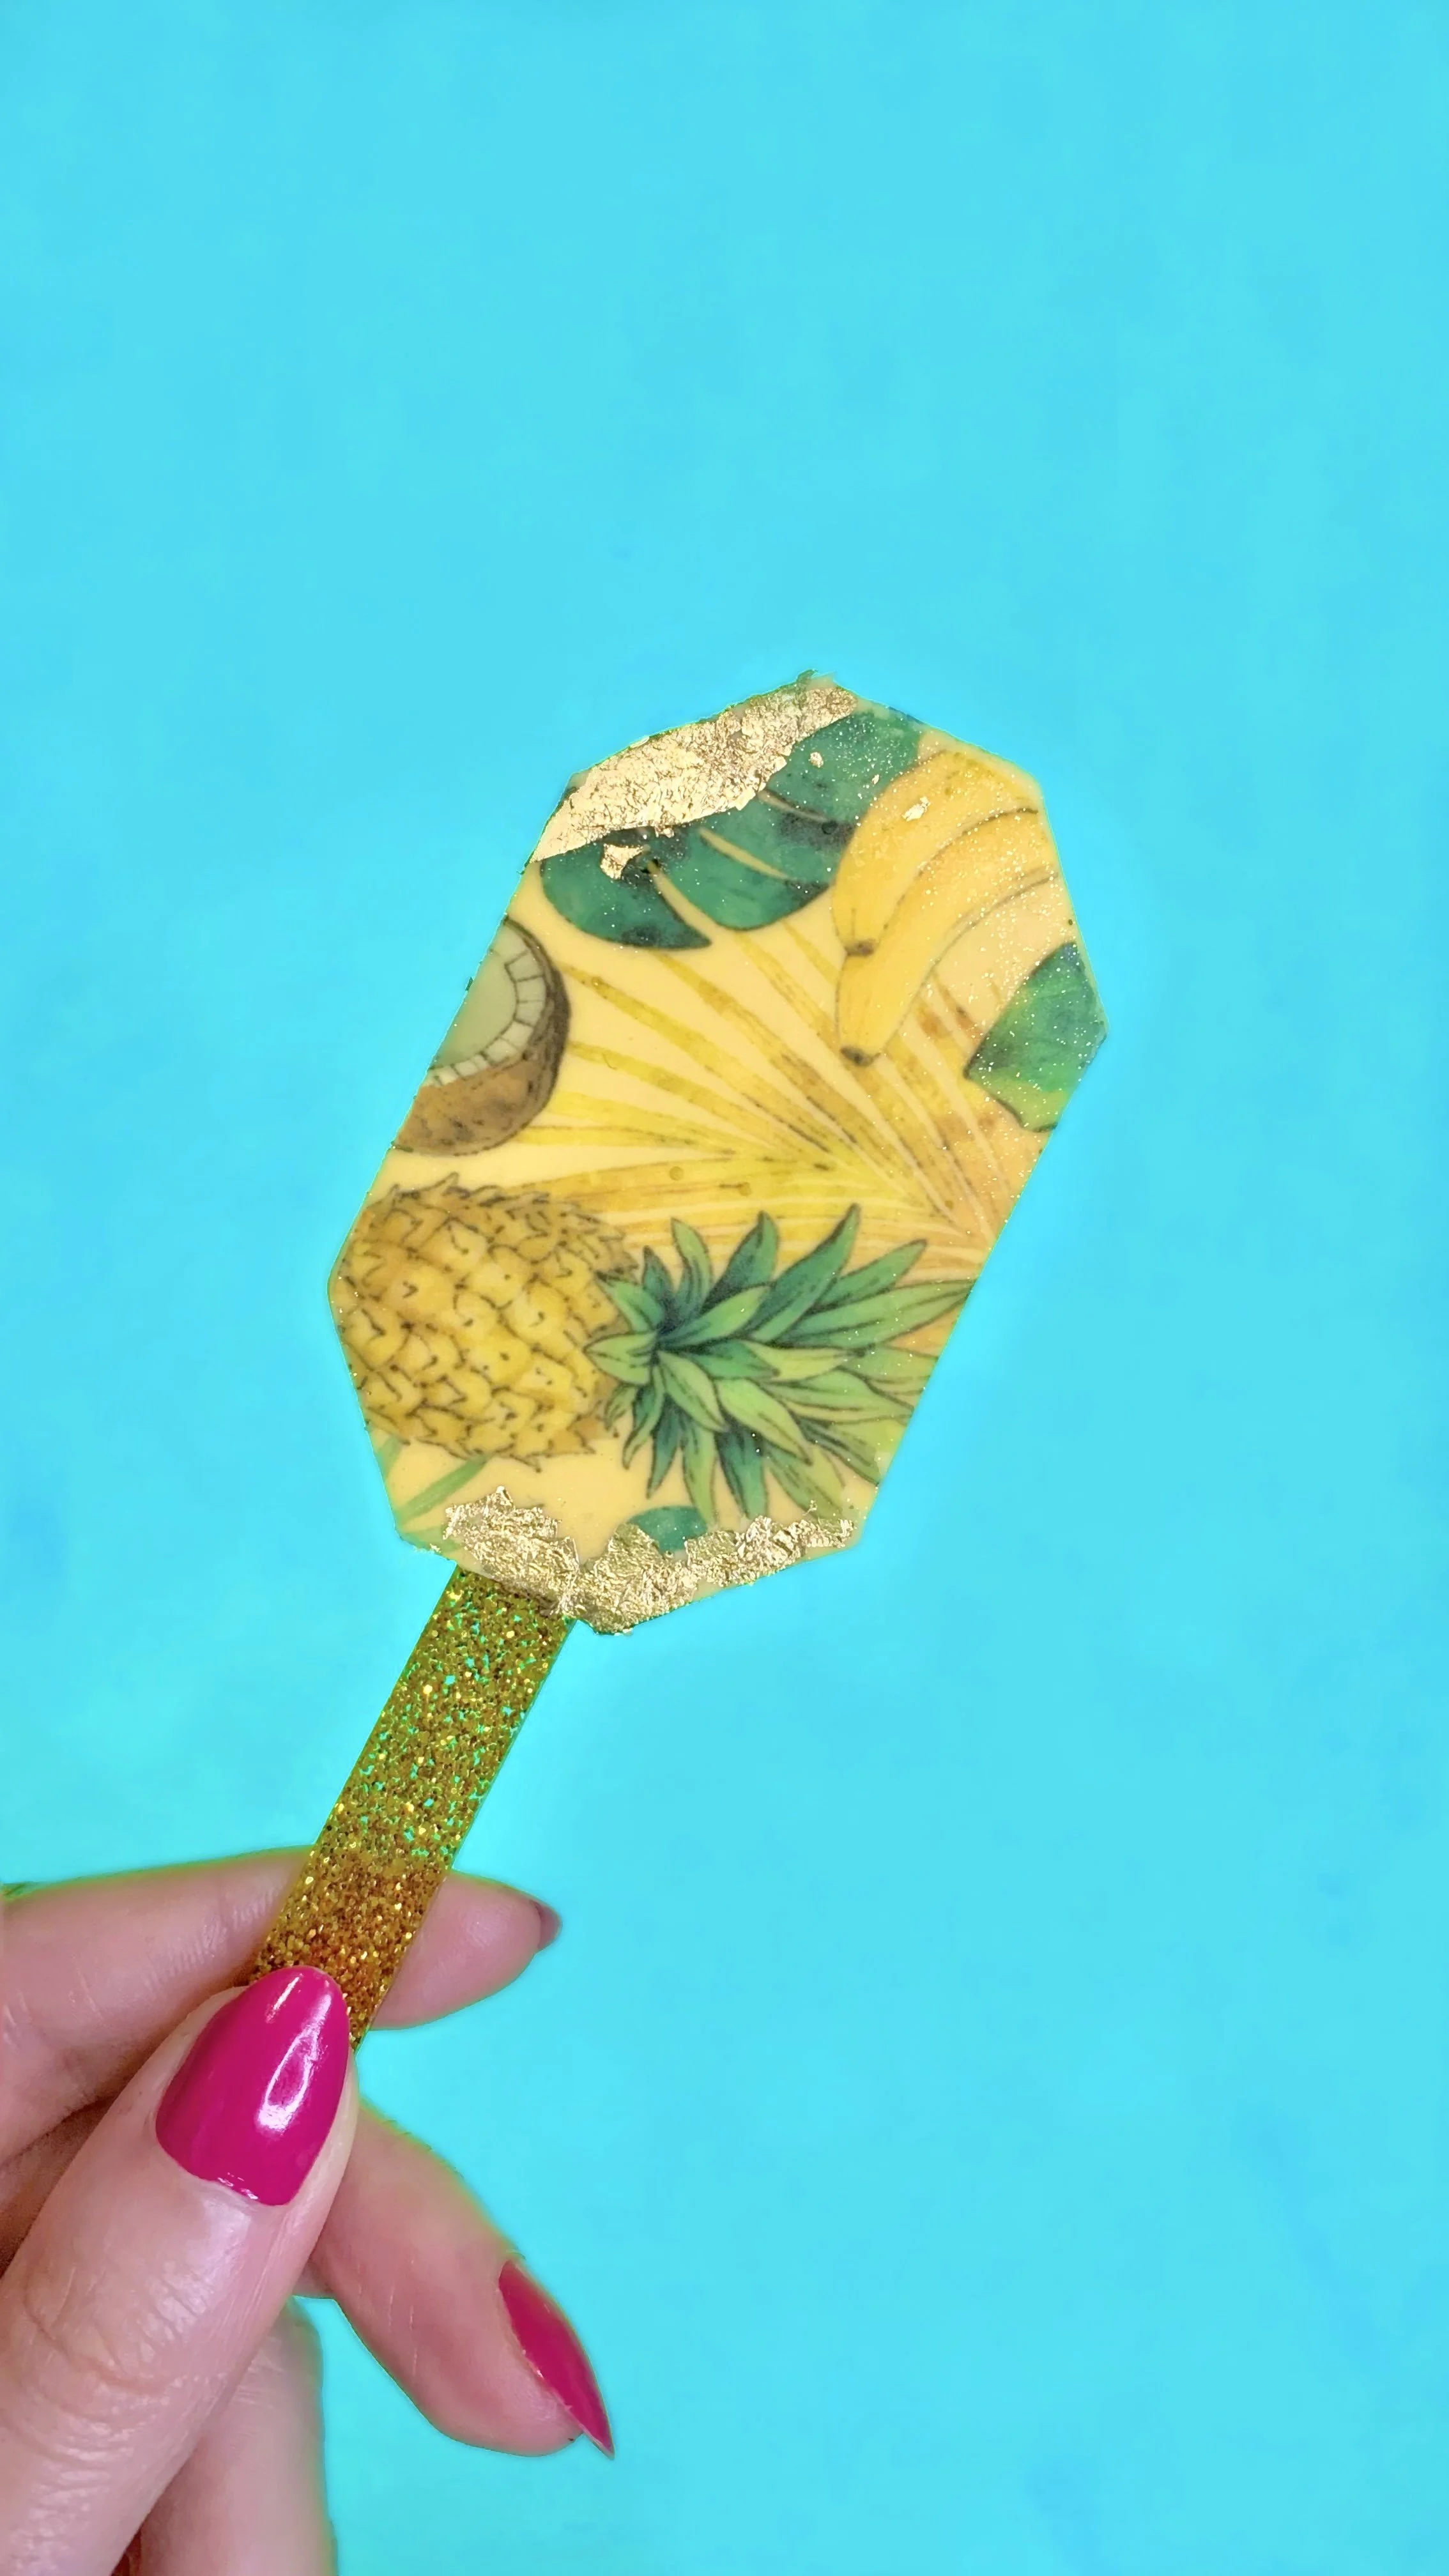
This pineapple cakesicle was made using an Octagon Gem cakesicle mold (Code BUTTER10 for 10% off). This cakesicle is very simple from the front but sophisticated from the back, and it’s one of my faves! For the back, I used a chocolate transfer sheet from www.sugar-art.ca (Code BUTTER20 for 20% off). To make it, you do all the usual steps you need to make a cakesicle, one you add the melted chocolate to the back, you place the chocolate transfer sheet before the chocolate melts. Once the chocolate sets, you remove the sheet and you’ll have whichever design you desire on the back of the cakesicle.
For the short tutorial, click here.
3. Beach Cakesicle 🌊

Absolutely one of my favourite Cakesicles, this beach inspired cakesicle is made using an Uptown Shape mold (Code BUTTER10 for 10% off). The seashells were made using white chocolate, poured in a seashell mold, and brushed with some coco powder for the effect. Next, I crashed some cookies and added them to the bottom. The mixture that I used is a combination of water and gelatine; you sprinkle some gelatine on top of a small amount of water and set it in the microwave to melt. To give it that sparkle effect, I used some edible silver dust, poured the transparent liquid in the bottom part, then added some blue food colouring and added that to the top part.
For the short tutorial, click here.
4. Mermaid Cakesicle 🧜🏽♀️

For this cakesicle I used the same mold I used for the previous one. You can absolutely use one chocolate colour, but I decided to go with 3 different colours: Mint, Baby Pink, and Purple. After colouring the chocolate with all 3 colours, I poured all 3 in a cup, slightly mixed them, and poured them in the mold. In the middle I added melted chocolate, and immediately poured some sprinkles. For the decoration, I used a Mermaid Tail Silicone Mold (Code BUTTER10 for 10% off), and painted it with gold + added some gold glitter.
For the short tutorial, click here.
5. Watermelon Chocolate Fingers 🍉
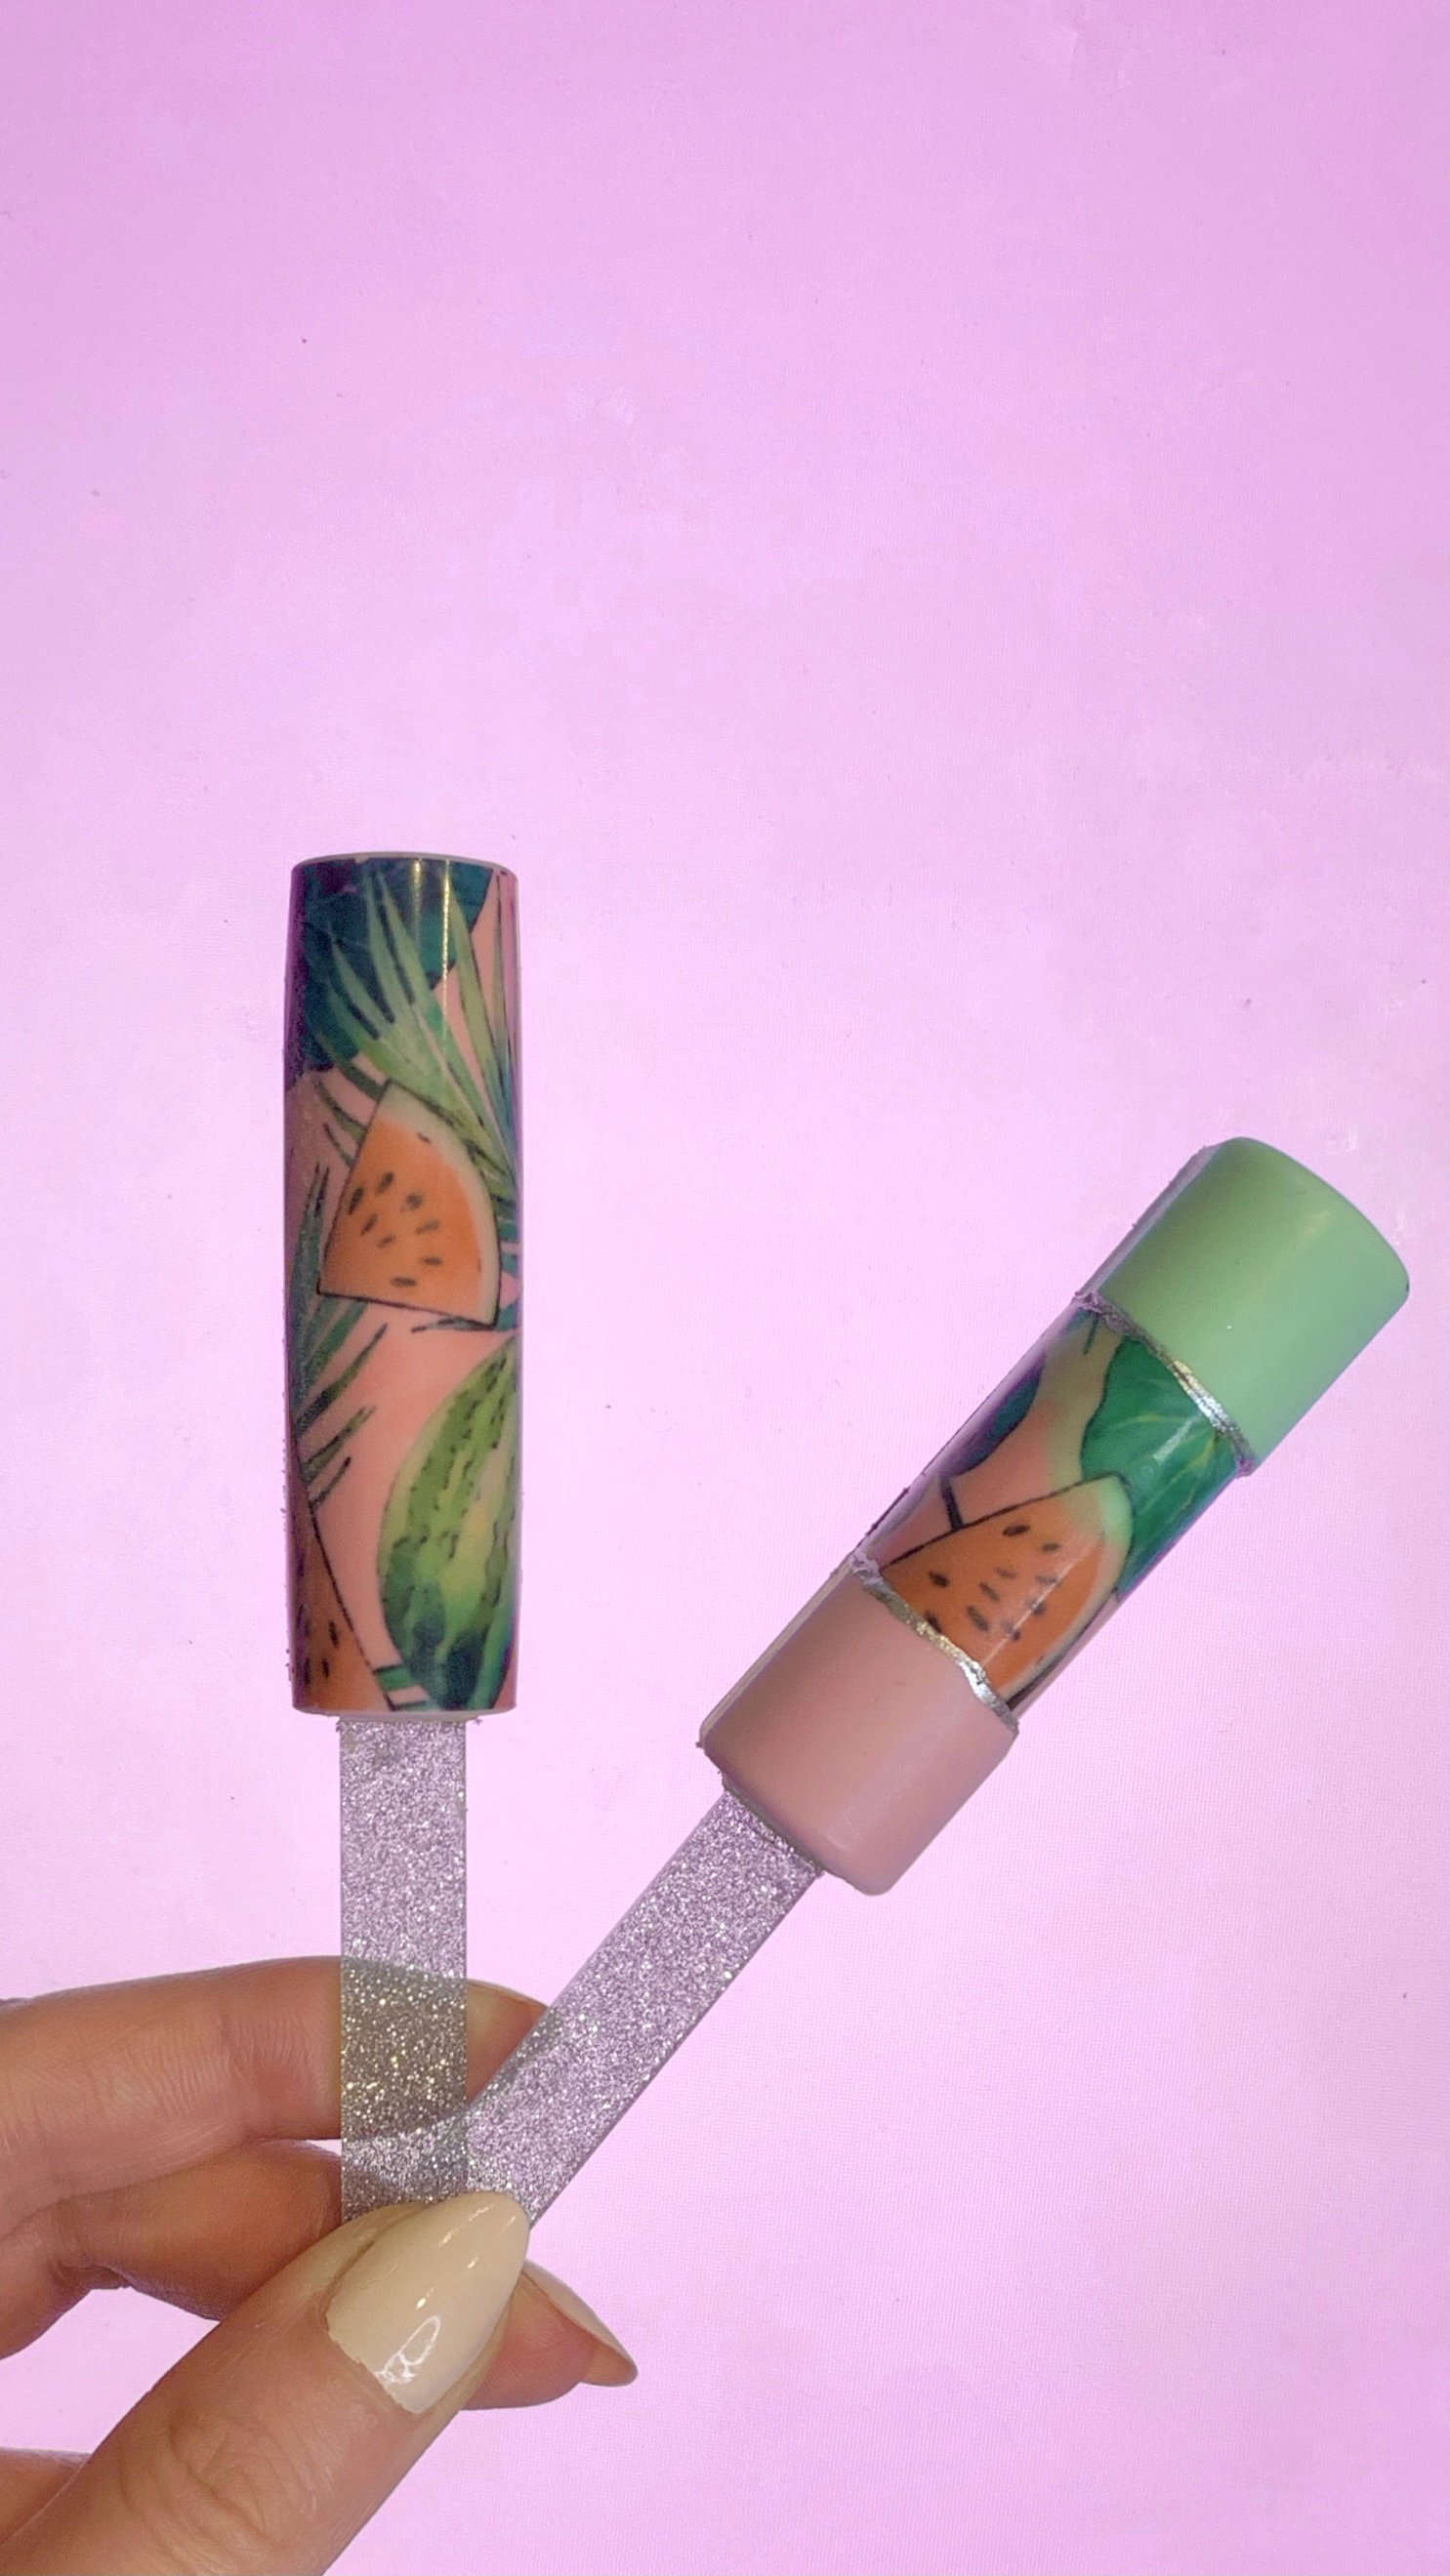
Back again with Sugar Art’s chocolate transfer sheets! For these chocolate fingers, I cut a tiny piece of the transfer sheet and placed it in this Round Mold (Code BUTTER10 for 10% off), add some melted chocolate, and allow it to set. Then simply remove the sheet and you will have the desired design printed on the chocolate. For the one on the right, I used a sheet smaller than the mold, 2 different chocolate colours, and it gave that effect by itself (of course the silver part was painted with edible paint). Note that you can fill these whit whatever you want, but also know that the mold is tiny.
For the short tutorial, click here.
6. Tropical Cakesicle 🌴

This cakesicle was covered with an edible sugar sheet, also from www.sugar-art.ca (BUTTER20 for 20% off). Unlike chocolate transfer sheets, a sugar sheet should be applied using vegetable shortening by brushing it onto the cakesicle and applying the sheet. I would suggest going with a regular mold, because they’re challenging to place on uneven surfaces. For this cakesicle, I used the Premier shape mold (BUTTER10 for 10% off).
7. Tropical Cakesicle - 2 🌴 🌺
Same set as the one above, this one was made using the same step but instead of covering the whole cakesicle with the sheet, I only covered the top half. For the bottom I used fondant and gave it a ruffled effect. The gold parts of Edible Gold Leafs (Code BUTTER10 for 10% off).
8. Happy Flower Cakesicle 🌸 😊

This cute flower was made using a Cookie shaped mold (Code BUTTER10 for 10% off). I did attach the petals each at a time but I would suggest going with a big enough flower cookie cutter and adding it to the back. I made the petals with gum paste so that it fully dries, then brushed them with chocolate, and added sprinkles. For the cheeks I used a blush dust powder, the eyes and the mouth were hand painted with edible black paint.
For the short tutorial, click here.
9. Summer Bouquet Cakesicle 💐

For this cakesicle, I used a Mini Gem shape mold (Code BUTTER10 for 10% off). For the flowers, I used fondant in different colours and different molds:
Bourbon Rose Silicone Mold (Code BUTTER10 for 10% off on all the molds)
For the short tutorial, click here.
10. Roses Cakesicle 🌸

This design is more on the classy side and is versatile. Can be made for summer, spring, and even for a wedding. I used Break Away Shape mold (Code BUTTER10 for 10% off), then I cut a heart using fondant and a cookie cutter for the middle. In that heart I added many small roses, I used Bourbon Rose Silicone Mold and fondant as well (if you don’t like fondant, these can be made with chocolate).
For the short tutorial, click here.