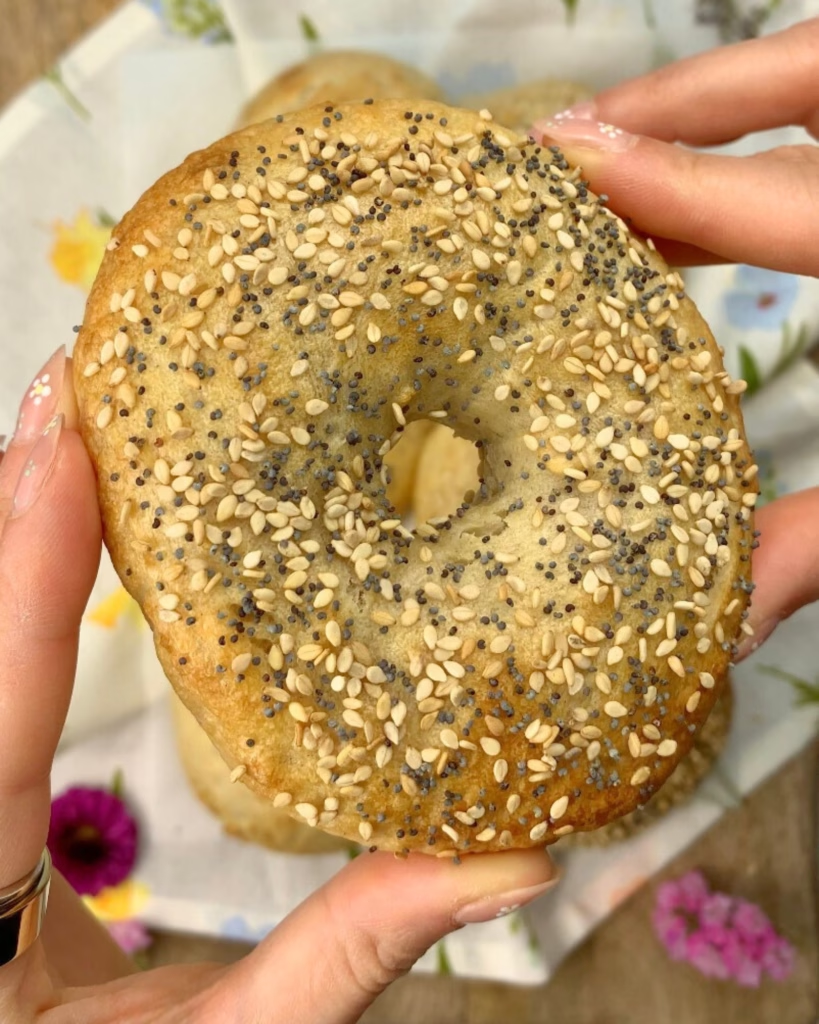
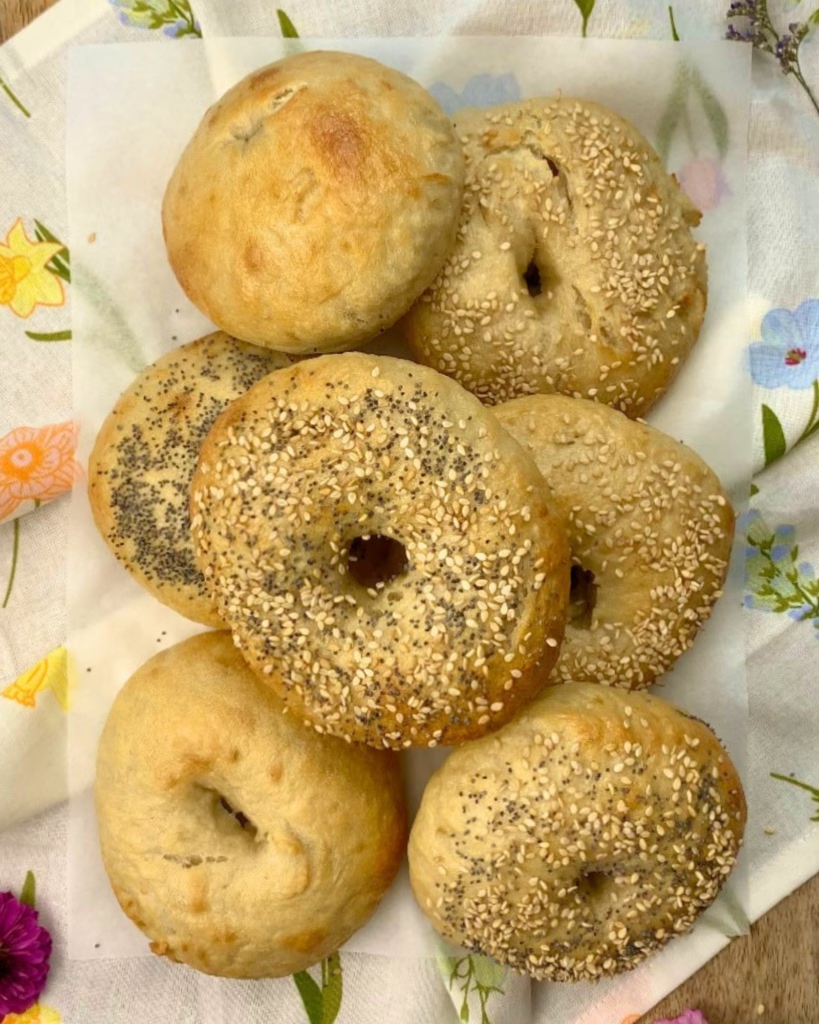
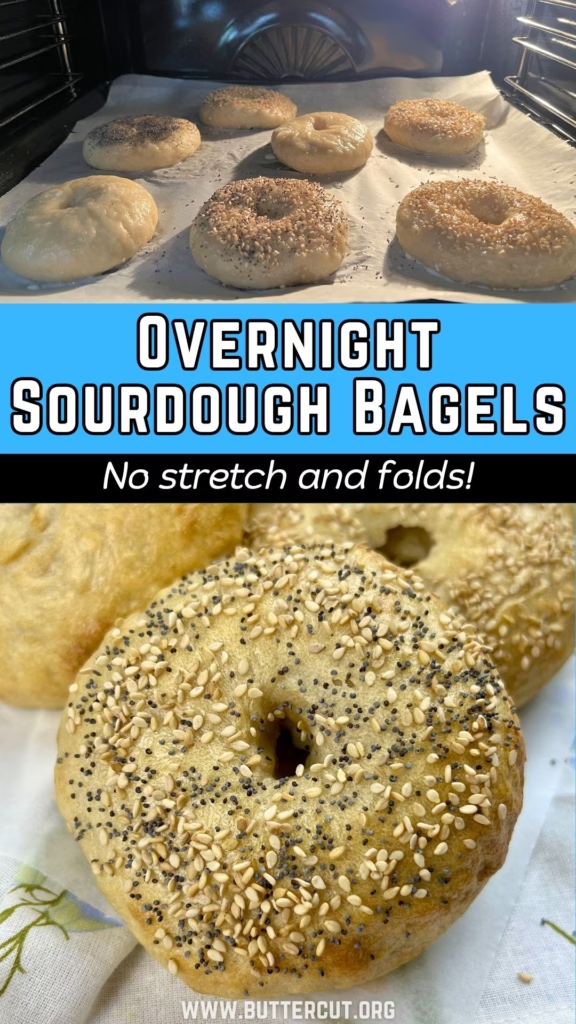
Overnight Sourdough Bagels: No stretch and folds required! Just mix, bulk ferment, and bake the next morning for fresh, chewy sourdough bagels for breakfast.
Published: March 21, 2026 by Pamela.
This post may contain affiliate links. Please read our disclosure policy.
I have been experimenting with sourdough lately and sharing a few recipes on here that I found to be a win. Believe it or not, I am currently baking my bread in an Instant Pot, yes, my Instant Pot! I’m always trying to find ways to make the sourdough process less time-consuming and way less complicated for a busy kitchen.
Honestly, it’s pretty amazing to experiment with sourdough recipes that aren’t a traditional loaf because they are much more forgiving. If you’ve ever been intimidated by sourdough, these Overnight Sourdough Bagels are the perfect place to start.
What’s great about this recipe is the long overnight fermentation. Instead of hovering over your dough all day, you just mix the ingredients in your mixer and let them bulk ferment for 8 to 12 hours while you sleep. The next morning, you shape them, give them a quick honey bath, and bake.
If you want to experiment with more forgiving sourdough recipes, I would suggest my
Sourdough Discard Lemon Poppy Seeds Pancakes!

No Stretch and Fold Sourdough: Why This Method Works
If you’ve spent any time in the sourdough world, you know the drill: mix your dough, let it rest, return to the kitchen every 30 minutes, perform a set of stretch and folds, repeat four times, and hope for the best. It’s a lot of work, and even after following all the rules, sometimes your loaf does not look perfect.
This is when you need to take a break and try some sourdough recipes that don’t require stretch and folds, or that don’t mind over-fermenting. By letting the dough undergo a long, slow 8 to 12-hour bulk fermentation, the gluten networks develop naturally on their own.
Overnight Sourdough Bagels: What You Need
This recipe uses a stiff sourdough dough, which is why it’s so forgiving. Here is exactly what you’ll need to get that perfect chewy texture.
- 120g Active Sourdough Starter: Fed and bubbly. I fed my starter the day before at night and then used it the next day.
- 265g Water: Room temperature is best.
- 500g Bread Flour: (Or All-purpose if that’s what you have on hand).
- 15g Honey: This feeds the wild yeast and adds a hint of sweetness.
- 10g Sea Salt: For that essential savory balance.
The Honey Bath & Toppings
- Water: Enough to fill a large pot.
- 2 tsp Baking Soda: This is the secret to the golden-brown crust.
- 1 tbsp Honey: For shine and a professional finish.
- Milk Wash: A little milk brushed on top before baking. You can also do an egg wash if you prefer.
- Toppings: Sesame seeds, poppy seeds, or everything bagel seasoning. You can also do cheddar jalapeño; it’s your food, you do what you want.
How to make overnight sourdough bagels
1. In your stand mixer bowl, combine the starter, water, flour, honey, and sea salt. Mix on low until a shaggy dough forms. Increase the speed slightly and knead for 5–7 minutes. You are looking for a smooth, elastic dough that clears the sides of the bowl.
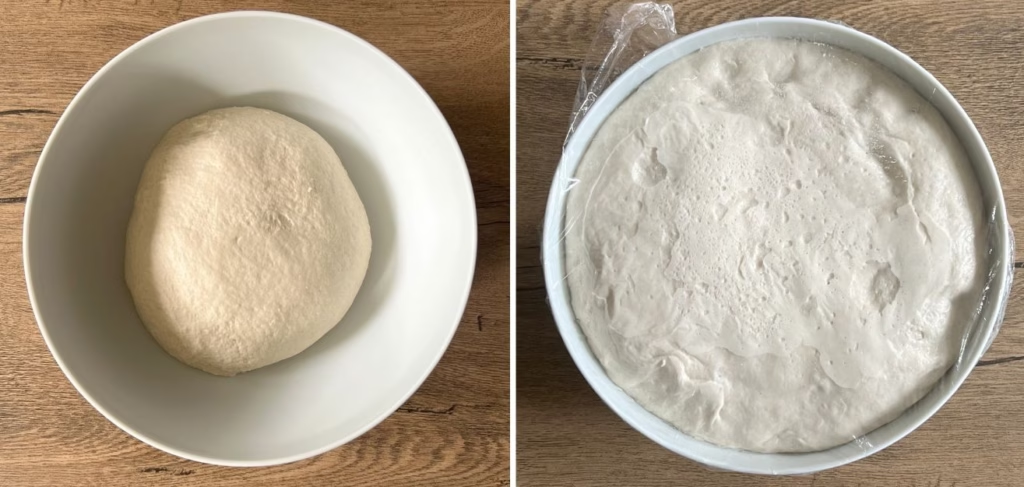
2. Cover your bowl with a damp cloth or plastic wrap. Let the dough rest and rise at room temperature for 8 to 12 hours.
💡Pro Tip: If your kitchen is warm (above 22°C), check them at 8 hours. If your kitchen is colder, the full 12 hours is perfect.
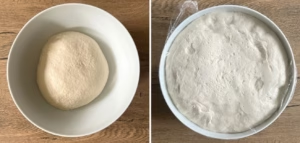
👇🏼 This is what my dough looked like after approx. 10 hours of bulk fermentation. I mixed my dough around noon, so these were done fermenting by 10PM. I then put my bowl in the fridge and shaped them the next morning. If you made these at night, you can leave them on the counter overnight only if your kitchen is colder than 22C. However, they are easier to shape cold.
3. The next morning, turn the dough onto a lightly floured surface and divide into 8 equal portions. To form the balls, pinch the sides of each portion to the centre and squeeze to attach them together, then flip the ball and do a circular motion with your hand.

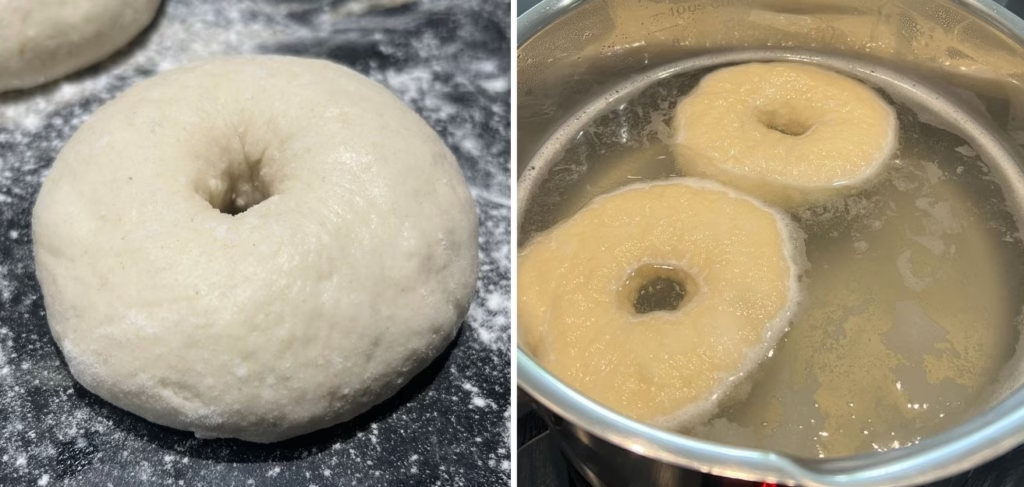
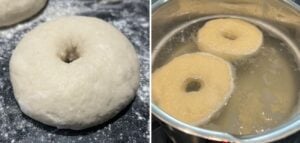
4. Poke a hole in the center with your thumb then gently stretch the hole to about 2 inches wide. Let the shaped bagels rest for 30 minutes on a parchment-lined tray.

5. Bring a large pot of water to a boil and add the baking soda and honey. Right before boiling, give the center holes one last stretch (they like to shrink!). Drop 2–3 bagels in at a time. Boil for 1 minute per side (2 minutes total).
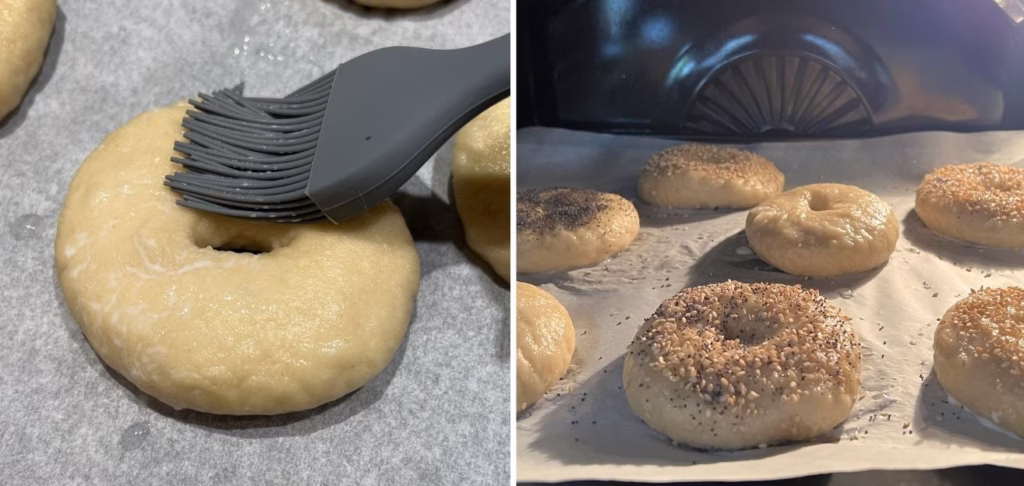
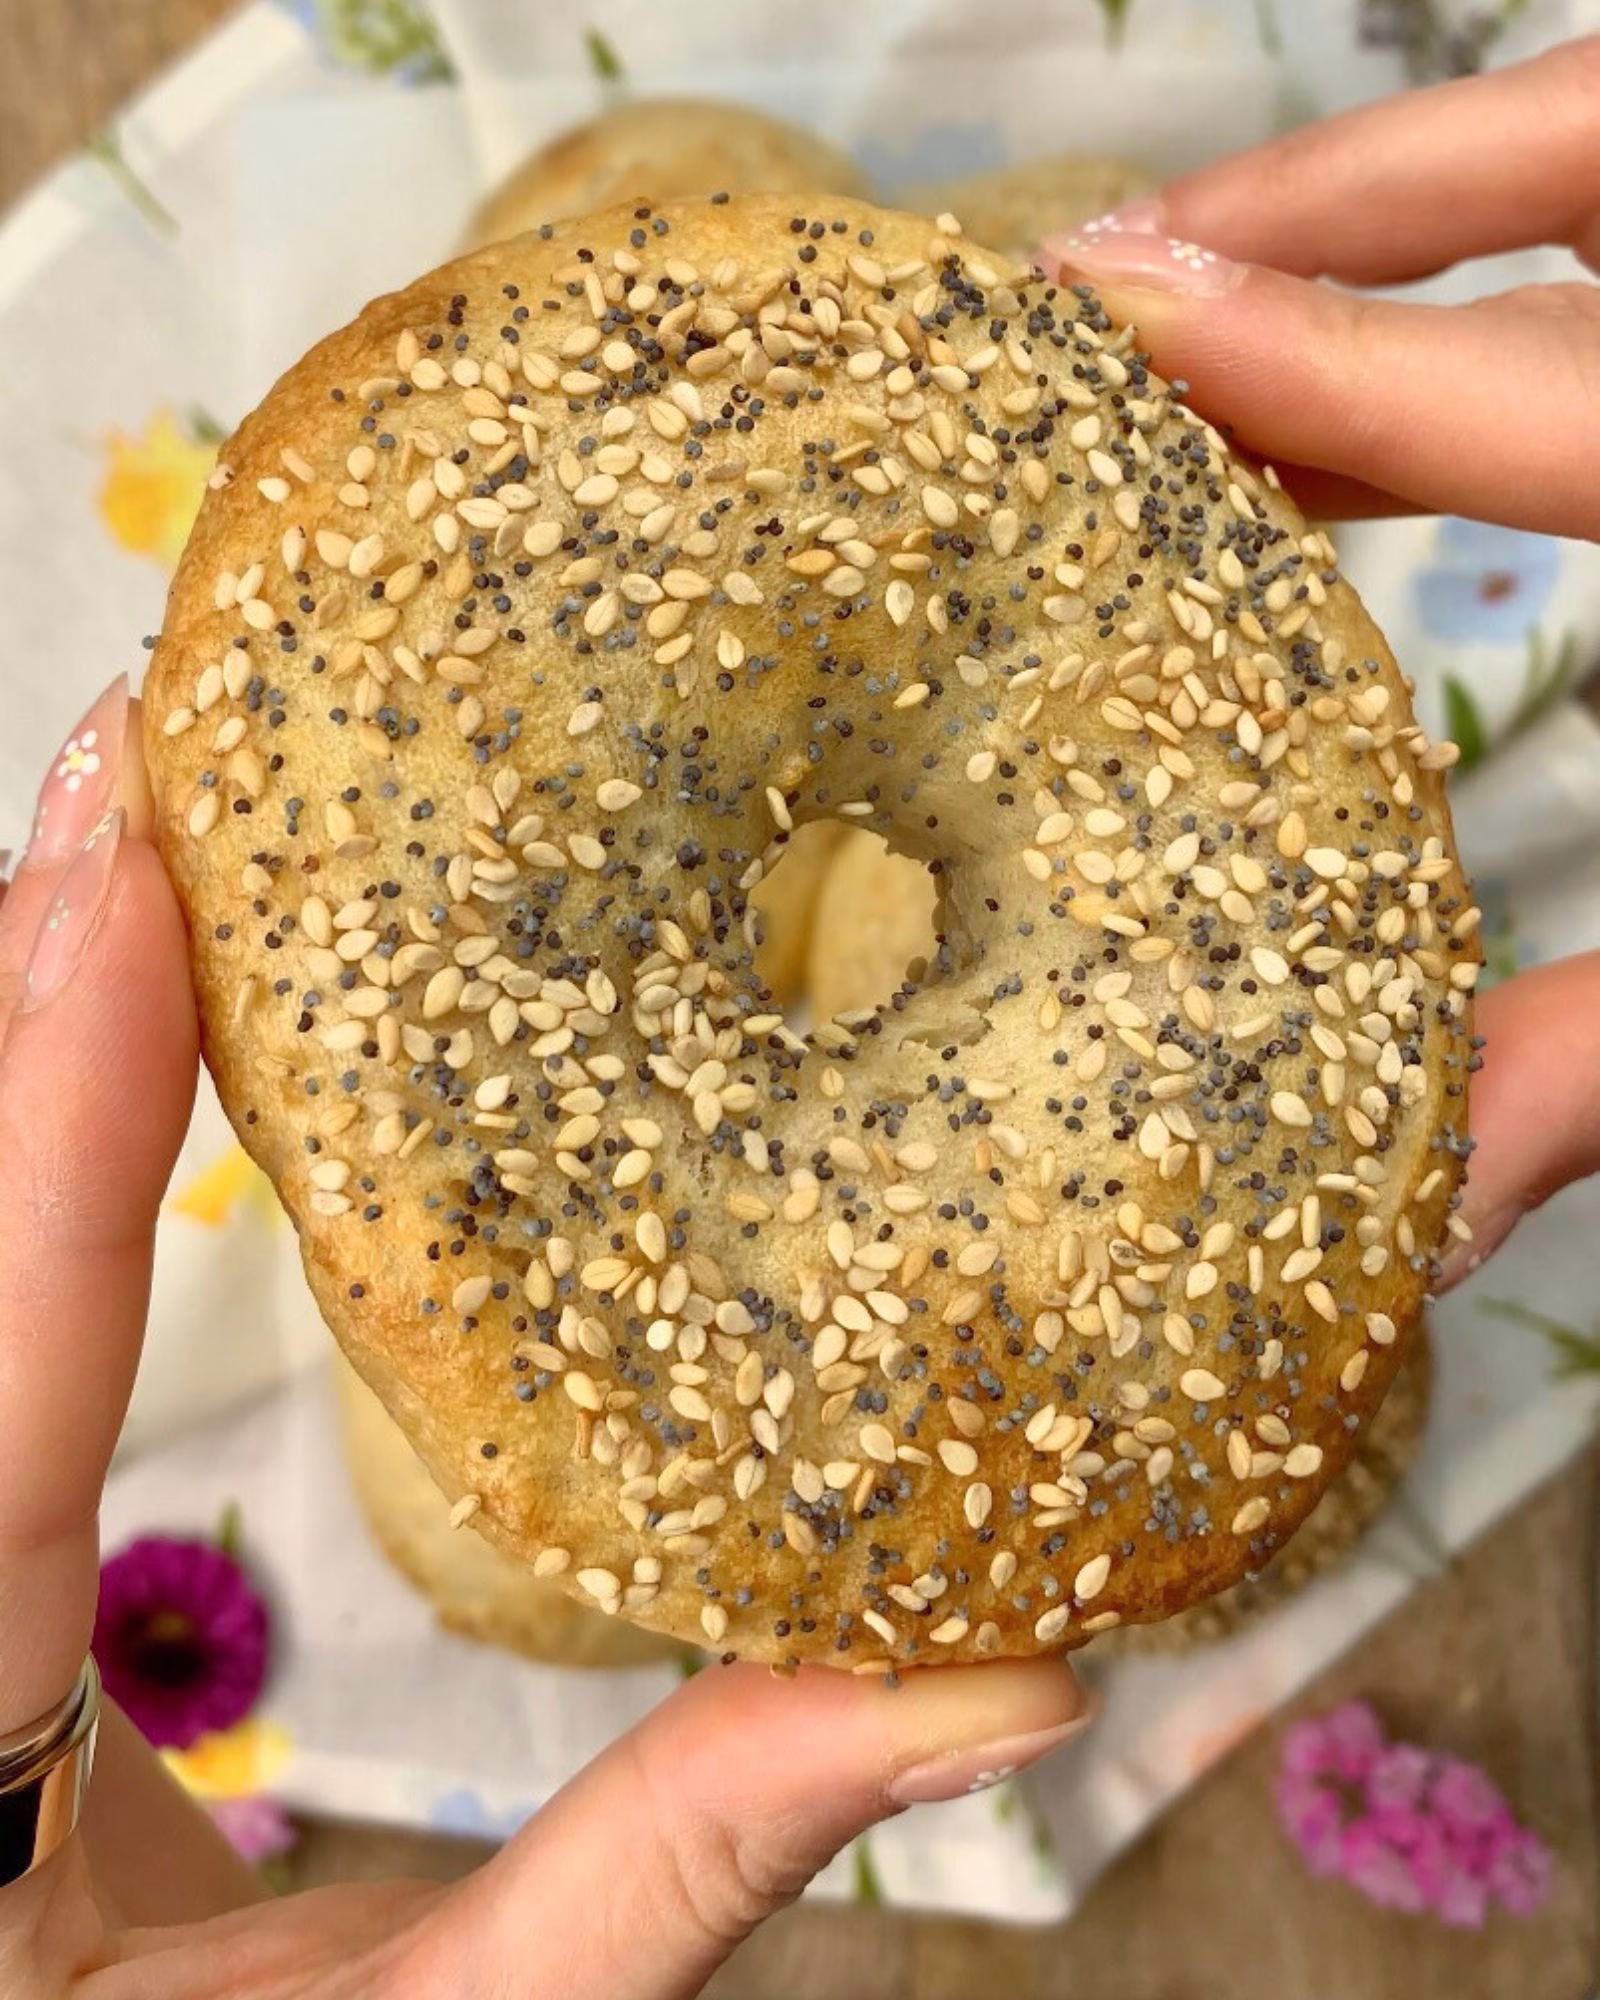
6. Remove the bagels from the water with a slotted spoon and place them back on the baking tray that is lined with a baking paper. Brush with a milk wash and sprinkle on your favorite toppings while they are still damp. Then bake them at 220°C (428°F) for 20 to 25 minutes (middle rack with top and bottom elements on).
Sourdough Bagel FAQ: Your Questions Answered
Can I use a sourdough starter straight from the fridge?
For the best rise, I recommend using a fed, active starter. If your starter is very strong, you can sometimes get away with using it cold, but your 8–12 hour bulk ferment might take a little longer.
What if my dough is too sticky to shape?
The texture of sourdough becomes more sticky after bulk fermentation, if it’s too hard to work with even after sitting in the fridge, dust your counter with extra flour. You can also oil your hands in order not to add extra flour to the dough and make the bagels dry.
Do I have to use honey in the water bath?
You can swap the honey for barley malt syrup or even brown sugar. The goal is to add a touch of sweetness and help the exterior caramelize into a deep golden brown.
Storage and Reheating
Store in an airtight bag for up to 2 days. Because these are natural sourdough, they stay fresh slightly longer than yeast-based bread. If you want to freeze them, slice your bagels before freezing! Store them in a freezer-safe bag for up to 3 months.
When you want to reheat them, don’t microwave them ,they become rubbery. You can toast them sliced in a toaster or in the oven for a few minutes. If you are reheating them straight from the freezer, add a few more minutes to your toaster or oven.
(Oven reheating is around 180C).
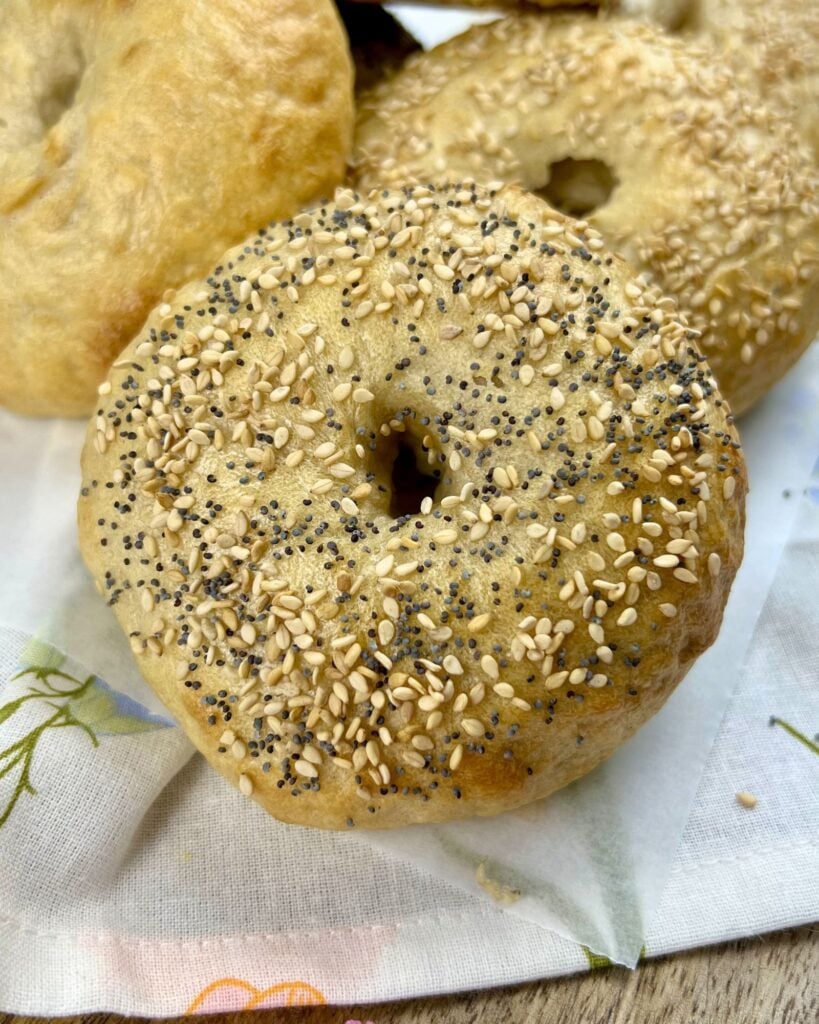
If you tried this overnight sourdough bagels recipe, be sure to leave a rating and share your thoughts in the comments below. I’d love to hear your feedback! 🥯

Overnight Sourdough Bagels
Ingredients
For the dough
- 120 g Active Sourdough Starter fed and bubbly
- 265 g Water room temperature
- 500 g Bread Flour (all-purpose works too)
- 15 g Honey or maple syrup
- 10 g Sea Salt
For the bath
- A large pot of Water
- 2 tsp Baking Soda
- 1 tbsp Honey
For the toppings
- Milk Wash
- Toppings of your choice like poppy seeds, sesame seeds, everything bagel…
Instructions
- In your stand mixer bowl, combine the starter, water, flour, honey, and sea salt. Mix on low until a shaggy dough forms. Increase the speed slightly and knead for 5–7 minutes. You are looking for a smooth, elastic dough that clears the sides of the bowl.Cover your bowl with a damp cloth or plastic wrap. Let the dough rest and rise at room temperature for 8 to 12 hours.
- The next morning, turn the dough onto a lightly floured surface and divide into 8 equal portions. To form the balls, pinch the sides of each portion toward the center and squeeze to attach. Flip the ball over and use a firm circular motion with your hand against the counter to create surface tension.

- Poke a hole in the center of each ball with your thumb, then gently stretch the hole to about 2 inches wide. Let the shaped bagels rest for 30 minutes on a parchment-lined tray

- Bring a large pot of water to a boil and add the baking soda and honey. Right before boiling, give the center holes one last stretch. Drop 2–3 bagels in at a time and boil for 1 minute per side.
- Remove with a slotted spoon and place back on the parchment-lined tray. Brush with a milk wash and add toppings while damp. Bake at 220°C (428°F) for 20 to 25 minutes on the middle rack with top and bottom elements on.

Video
Notes
- Nutrition info is estimated and may vary based on ingredients and portions. For the most accurate details, consider using a nutrition tool or checking our full Nutrition Information Disclaimer.
Nutrition
📌 Pin this recipe to save it!


Leave a Reply