Easy to make with just 4 ingredients! Learn how to make your own sprinkles with step-by-step instructions and a video tutorial to guide you through.

Published: March 24, 2025 by Pamela
This post may contain affiliate links. Please read our disclosure policy.
I’ve always loved sprinkles, at some point, I even dreamed of starting my own sprinkle company (still not fully off the table, honestly). I used to think making them at home would be way too complicated, but it turned out to be much easier than I expected, and actually really fun.
If you’re already familiar with royal icing, this is going to be super easy for you. And even if you’ve never worked with royal icing before, don’t worry. The process is simple, and once you get the hang of it, it’s kind of relaxing.
The base recipe only uses 4 ingredients, and you can even tweak it, swap the lemon juice for vanilla, or skip both depending on what you like. For decorating, all you need are a few gel food colors, some basic piping tips, and the rest is up to your creativity. So, technically you only need 4 ingredients to make this.
I started with an Easter sprinkle mix, and it turned into three fun batches using the same methods. I even made a summer version with mini watermelons, yes, it’s as cute as it sounds. Once you try making your own sprinkles, it’s hard to stop.
Ingredients to make homemade sprinkles:
- Powdered Sugar
- Meringue Powder
- Water
- Gel Food Coloring
- Lemon Juice (Optional, can be replaced with any extract you want).
Measurements are posted in the recipe card below the instructions.
Instructions to make homemade sprinkles for Easter:
- Add powdered sugar to a bowl (for a smoother icing, sift the powdered sugar). Sprinkle the meringue powder on top and mix gently.
- Mix lemon juice and water in a cup. Start by adding 2 tablespoons to the bowl. Mix on low speed. Slowly add more liquid until the icing is thick like frosting. I used about 3¼ tablespoons total.
- Once it’s ready, cover the bowl with a damp towel so the icing doesn’t dry out.

To Make the Jimmies:
Jimmies are the classic long, rod-shaped sprinkles you see on cakes, cupcakes, and cookies. They’re made from icing and can be colored however you like.
- Scoop a small amount of your royal icing into separate bowls, one for each color you want to make. I made pink and blue.
- Use gel food coloring, not liquid, to keep the icing thick. Add a drop or two and mix slowly, just until the color is even. Mixing too much can make the finish look dull or powdery.
- Transfer each color into a piping bag fitted with a small round tip (I used Wilton tip #3).
- Line a tray with parchment paper. Pipe long lines, keeping the piping tip about 1–2 cm above the surface. This helps the lines come out smooth and even.

- Leave the tray out at room temperature, away from light and moisture. Let them dry overnight until fully hard.
- Once the rods are fully dry, gather them together and use a sharp knife, cake scraper, or dough scraper to cut them into small sprinkle-sized pieces.

For the Mini Roses:
- Use gel food coloring to tint the amount of royal icing you need. Mix slowly until the color is even. Transfer the icing into a piping bag fitted with a Wilton tip 16 (a small closed star tip).
- Line a tray with parchment paper. To make the rose, start in the center and pipe one swirl around to the outside, like making a tiny spiral. Try to keep your swirl tight and steady so the rose holds its shape.
- You can add any detail you want, I sprayed them with edible silver glitter.
- Let the roses dry overnight at room temperature, away from light and moisture, until completely firm.

For the Bunny Sprinkles:
- I used white royal icing, but you can color it if you want. Transfer the icing to a piping bag fitted with a Wilton tip 3 (small round tip).
- On a tray lined with parchment paper, pipe a large circle for the tummy, a smaller circle above it for the head, and two ovals on top for the ears.
- Leave the bunnies to dry overnight at room temperature.
- Once dry, add the eyes and mouth using a toothpick dipped in black gel color or (even better) use an edible pen so it dries faster. I also brushed the ears with pink edible dust.

For the Quin Sprinkles:
- Take a piece of gum paste in the color you want and roll it out very thin.
- Use a large round piping tip (like Wilton tip #12) to cut out small circles. Just press down like a mini cutter.
- Place the circles on a sheet of parchment paper and let them dry overnight at room temperature until they’re firm.
Note: You can also use fondant instead of gum paste, but keep in mind it will take longer to dry. From my experience, Satin Ice dries better and faster than most other brands, so it’s a good option if you’re using fondant.
Note: if you don’t have fondant or gumpaste, you can make this using the icing as well. Just pipe circles like the bunny tummy (using the tip #3) and use a bit of water to flatten it (you damp finger or a damp brush will do it).

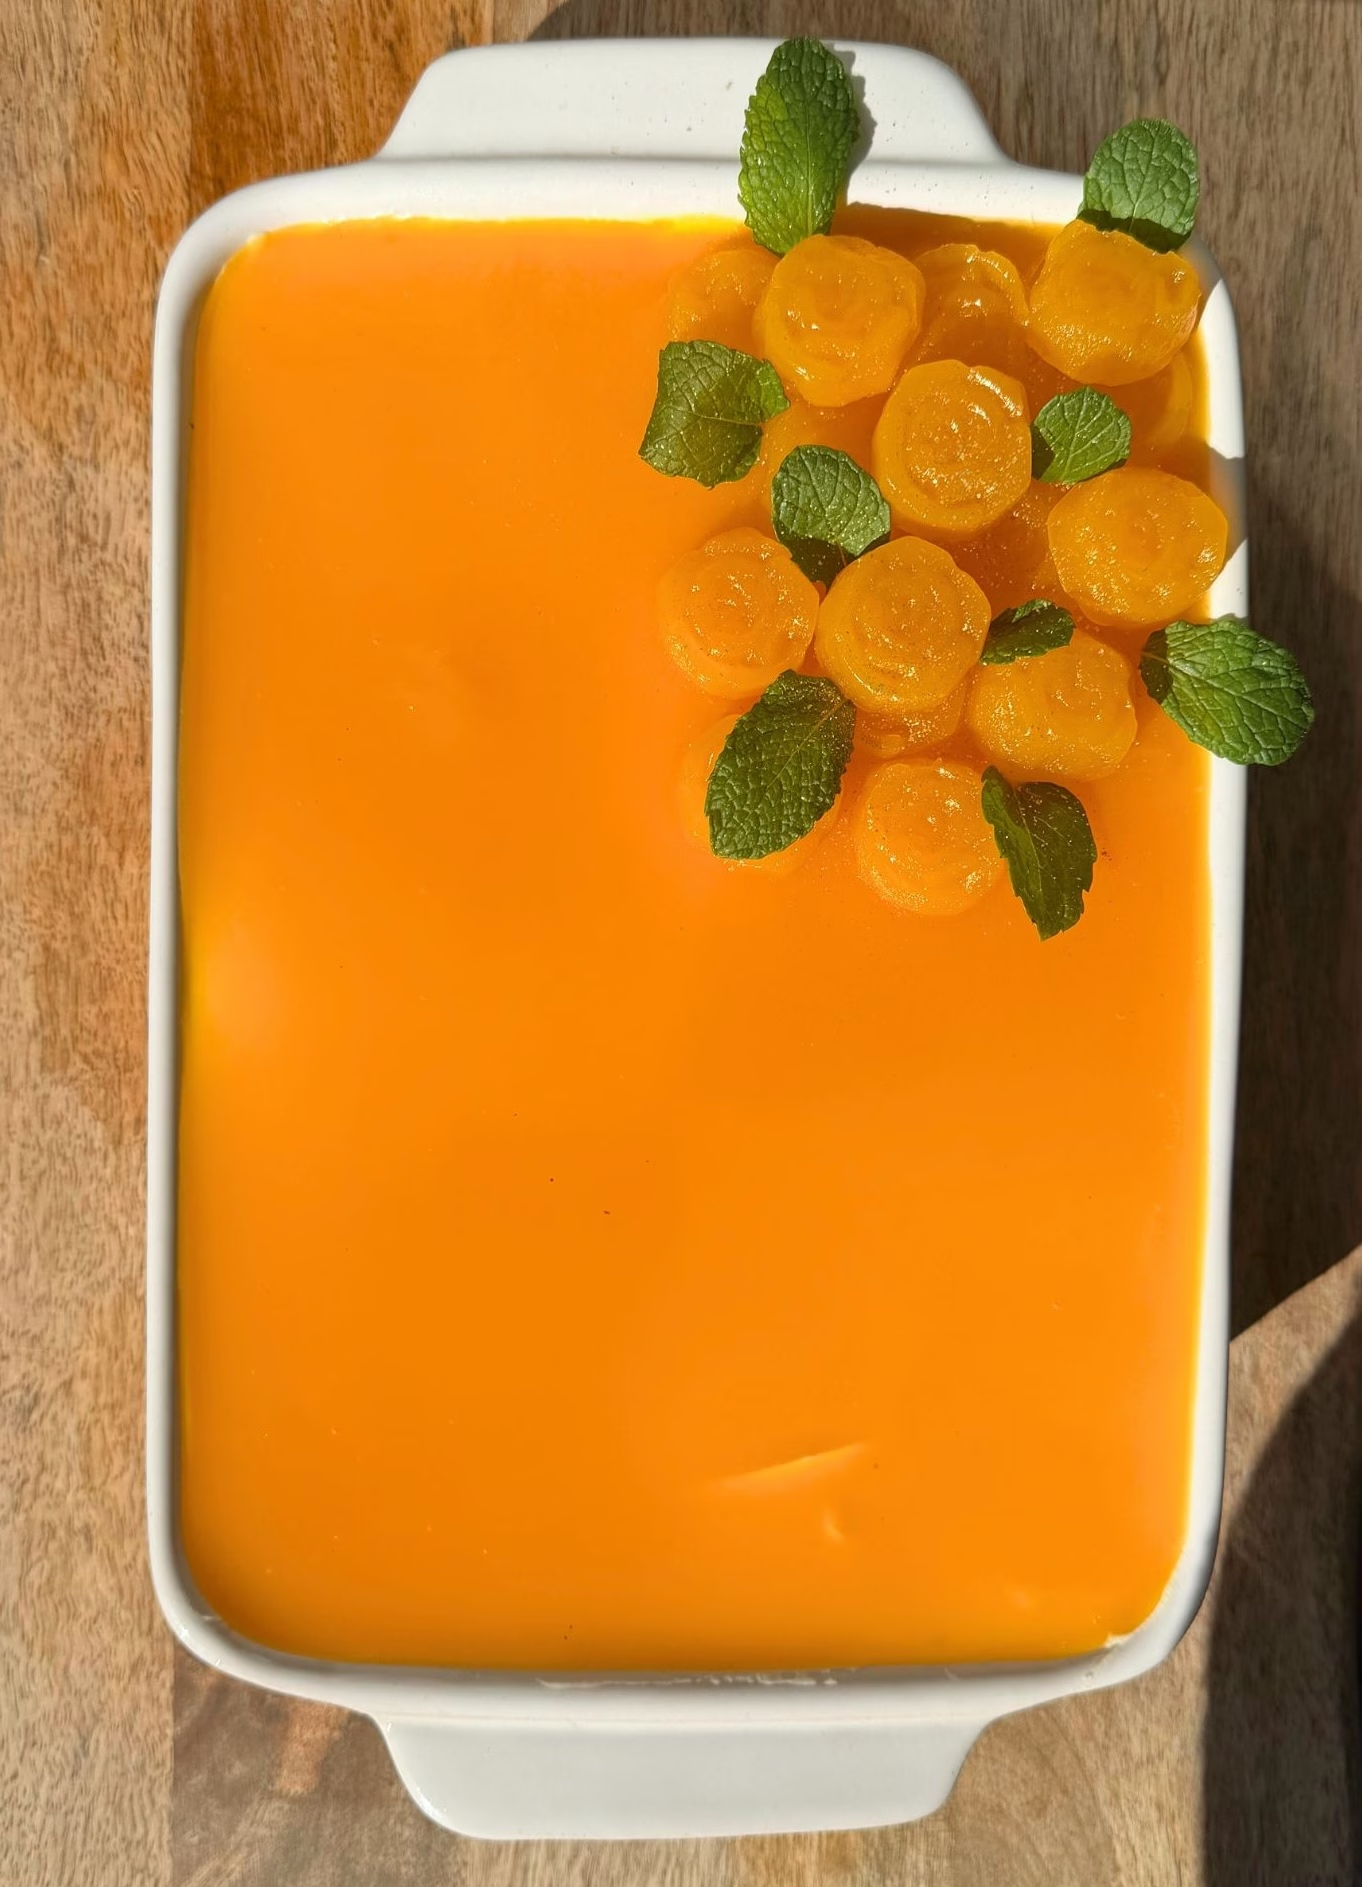
You can get really creative when making your own sprinkles! I put together three different mixes, each with its own color combo. One of them even includes mini carrot sprinkles, which turned out so cute! You can mix shapes, colors, and textures to match any theme or season. Check out the video tutorial to see how I made them step by step!


If you tried this recipe, be sure to leave a rating and share your thoughts in the comments below. I’d love to hear your feedback!

Easter Sprinkles Recipe
Ingredients
- 1½ Cups Powdered Sugar
- 1½ Tbsp Meringue Powder
- ¼ Cup Water
- ½ tsp Lemon Juice (Optional)
- Gel Food Coloring
Instructions
- In a bowl, add the powdered sugar. Sprinkle the meringue powder over it and give it a quick mix to combine.
- In a small cup, mix the water and lemon juice. Start by adding 2 tablespoons of this lemon water to the sugar. Turn your mixer on low and begin mixing. Slowly add more liquid, a little at a time, until the icing comes together. I used about 3¼ tablespoons total, but you may need a bit more or less. You’re aiming for a very thick frosting-like consistency.
- Once your icing is ready, cover the bowl with a damp towel right away to keep it from drying out or forming a crust. Keep it covered while you work.
- * Please refer to the step by step instructions above for each type of sprinkles or watch the video attached to this recipe card.
Video
Notes
- Nutrition info is estimated and may vary based on ingredients and portions. For the most accurate details, consider using a nutrition tool or checking our full Nutrition Information Disclaimer.
- Lemon juice is optional and can be replaced with any extract you want, you can also not add any flavor. I would advise you to use a clear extract, anything with color will slightly tint the icing.

Leave a Reply