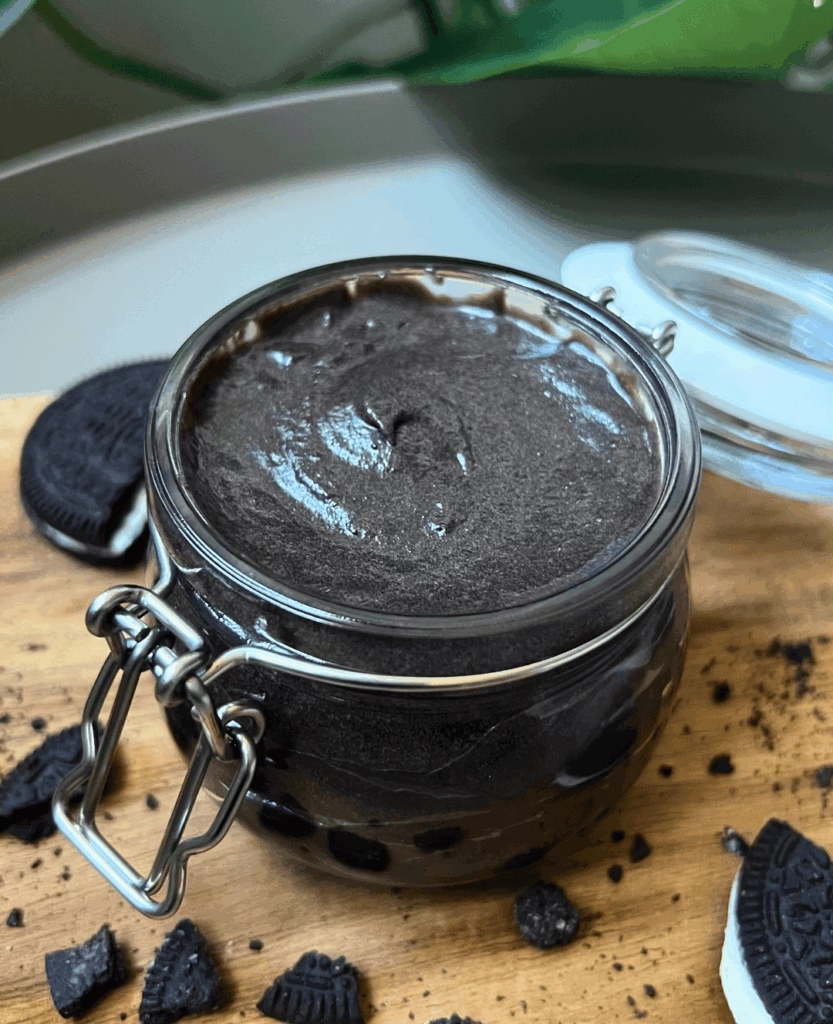
An easy 4-ingredient Oreo spread that’s as rich as the cookie. All you need is a blender or food processor to whip it up in no time.
Published: July 11, 2025 by Pamela.
This post may contain affiliate links. Please read our disclosure policy.
Oreos are probably one of the most famous cookies out there… but the spread? Not so much. And honestly, that needed to change. I’ve been in a season of making spreads, fillings, and jams; the most popular one was, of course, my 2-ingredients Pistachio spread, my current favourite has to be the dried fig jam I made (my mom’s recipe), and of course the Biscoff spread that requires 3 ingredients and less than 5 minutes to make.
So, after I made the Biscoff spread at home, I wanted to give Oreos a try. When I’m testing a new idea, I always start with a tiny batch, and for this one I started with 4 cookies. And surprisingly… I nailed it on the first try. I had a vision, and it worked. Which, by the way, was the total opposite of my Biscoff spread that took me like 5 rounds to get right.
Now here’s the funny part. When I filmed the actual recipe, I decided to skip a step I had done during my first trial. I’ve been in this mindset of keeping things minimal, you know less ingredients, less steps; but that one little step? It mattered. Baking is a science, after all.
The step was refrigerating the spread after blending, then pulsing it again once it’s cold. Skipping it gave me a thick, gooey, jet-black spread that looked like that Spiderman villain “Venom”, you know the one? I mean it looked pretty cool I’m not gonna lie, but it wasn’t spreadable straight out of the fridge, it needed stirring and that’s not the best thing when it comes to spreads.
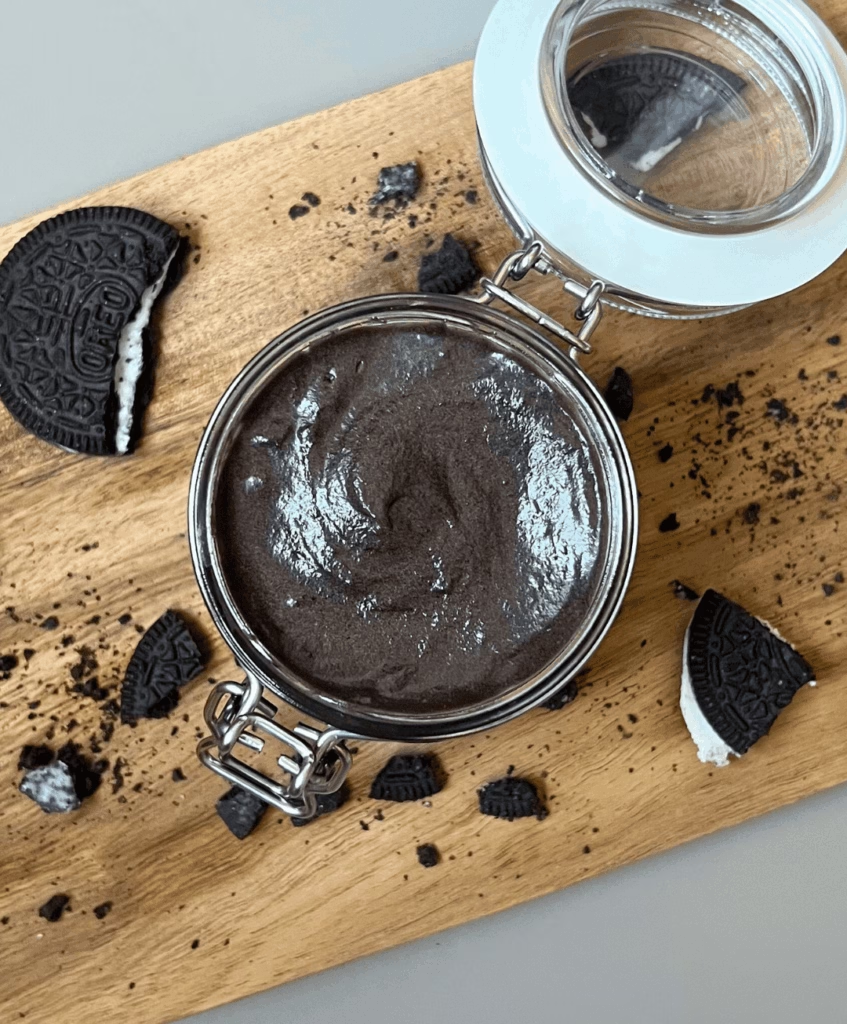
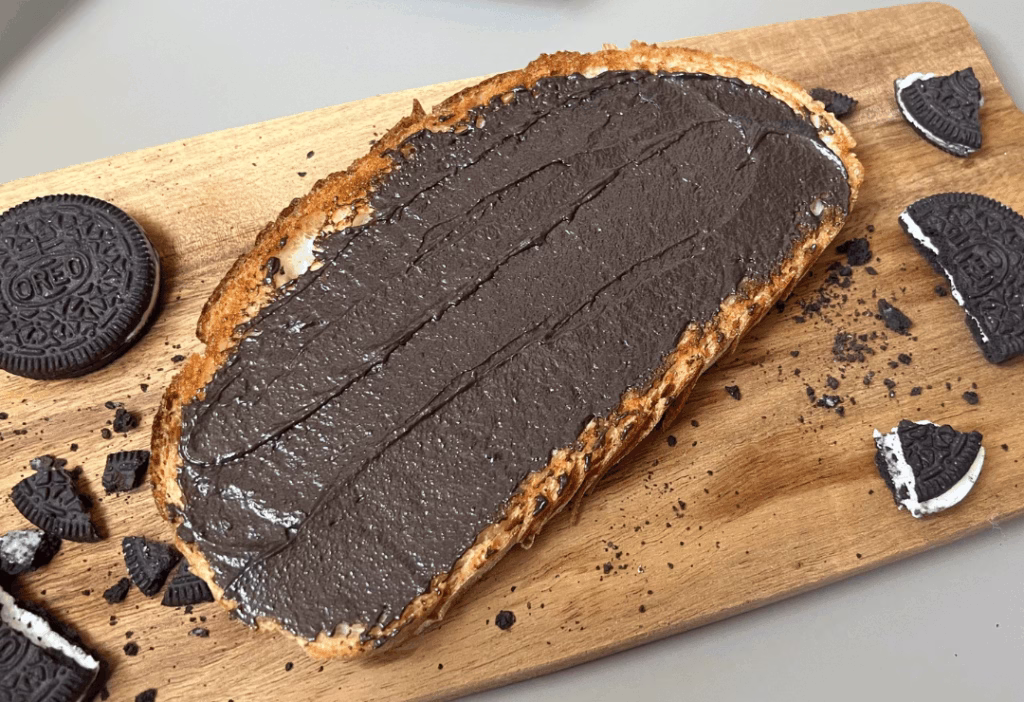
So, I remade it, and I didn’t skip the step. The result was exactly what I wanted, like a whipped buttery Oreo spread that you can use right away, straight from the fridge. Science won.
Ingredients to make homemade Oreo Spread:
- Oreo Cookies: These are the base of the spread, of course. No need to remove the filling. Use the whole cookie.
- Whipping Cream: Cream helps loosen up the cookies, I found that when making spreads from cookies you usually need a liquid. For this spread I wanted to go with a white chocolate buttercream base, this is why I use whipping cream and white chocolate. You can use heavy cream since we are going to heat it, just make sure it has around 35% fat.
- White Chocolate: It adds sweetness, smoothness, and a little structure once it sets. It is also a main ingredient in chocolate ganache (obviously).
- Unsalted Butter: Butter gives the spread that whipped, velvety texture after it’s chilled and pulsed again. Make sure it’s cold, it helps speed up the chilling step. I use unsalted because salted will leave an aftertaste here with the amount of salt it has.
Measurements are posted in the recipe card below the instructions.
🎥 Making Oreo Spread at home 👇🏼
How to make Oreo spread recipe at home:
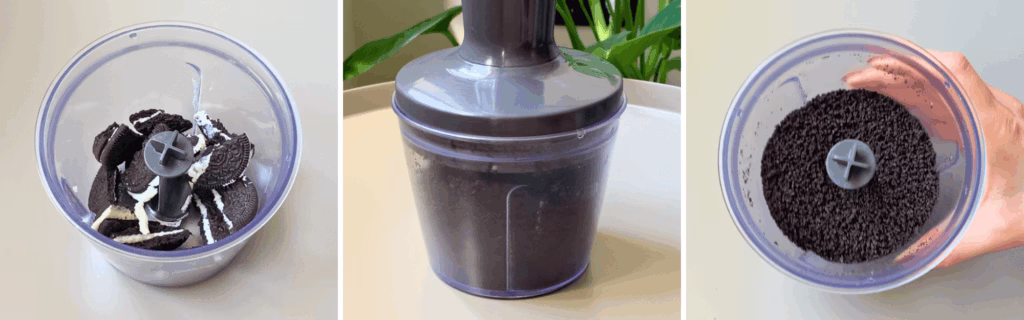
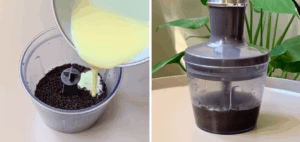
1. Start by adding the Oreo cookies to your blender or food processor. Blend them until they turn into fine crumbs. You don’t need to remove the cream filling.
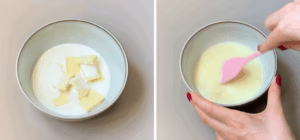
2. In a microwave-safe bowl, combine the white chocolate and whipping cream. Microwave for 30 seconds, then take it out and stir until the chocolate is fully melted and smooth. If needed, you can microwave it for another 10–15 seconds, but don’t overheat it. The texture will be a bit watery, that’s what we want.

3. Pour the melted chocolate mixture over the Oreo crumbs in the blender. Blend everything together until well combined. At this point, the texture will be a bit runny with a grainy texture.

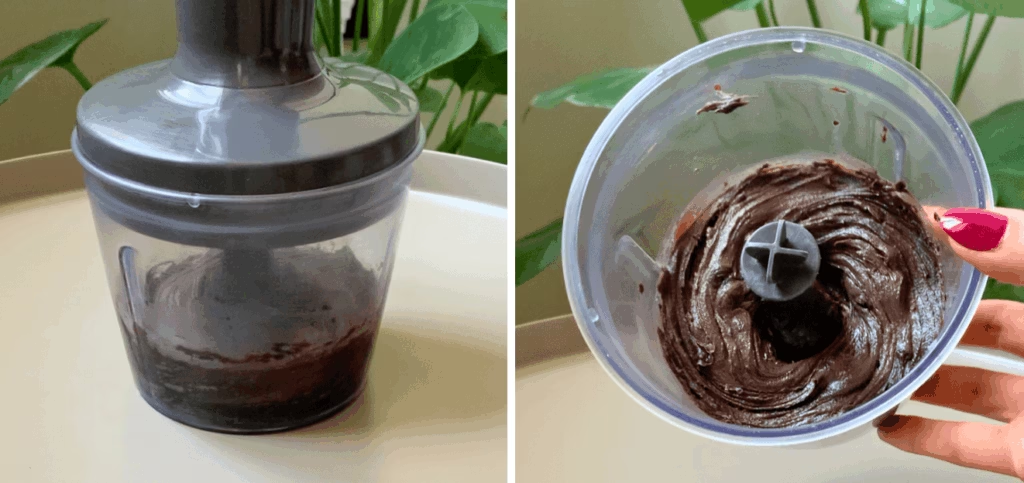
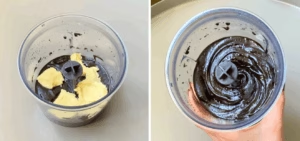
4. Now add your cold, cubed unsalted butter. Blend everything again until the mixture turns smooth and creamy. Depending on your blender or food processor, this can take between 30 to 60 seconds.

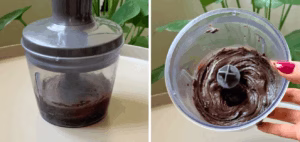
5. Keep the spread in the blender and place it in the fridge for 30 to 45 minutes. This step lets the butter set and slightly firms up the spread before the final blend.
6. Once the mixture is chilled, pulse it a few times, I did about 6 quick pulses, until the texture turns whipped, soft, and buttery. This final step transforms it from a dense mixture to a fluffy, easy-to-spread cream. And you’re done!
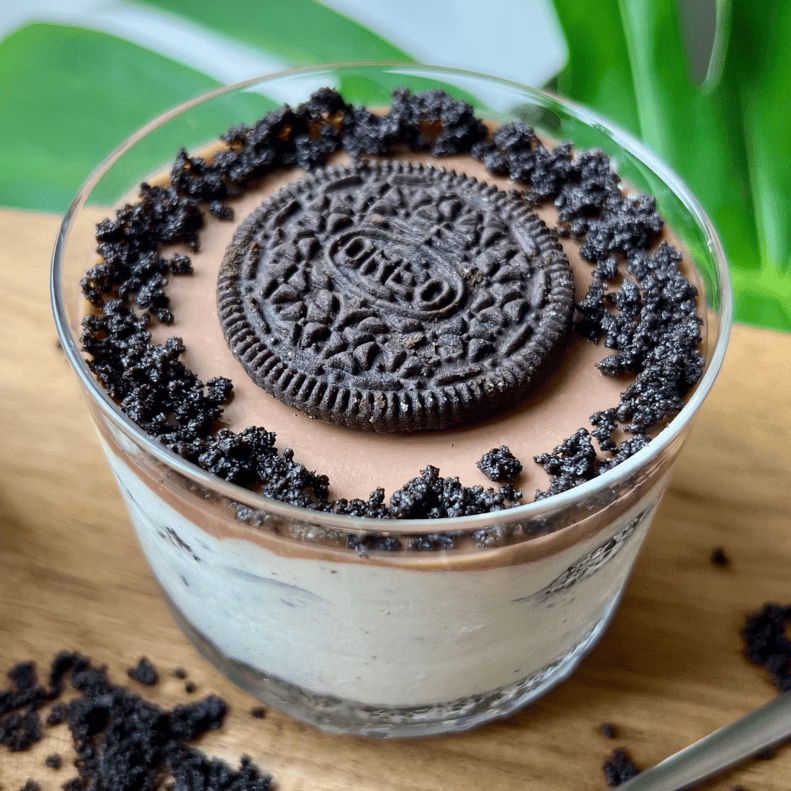
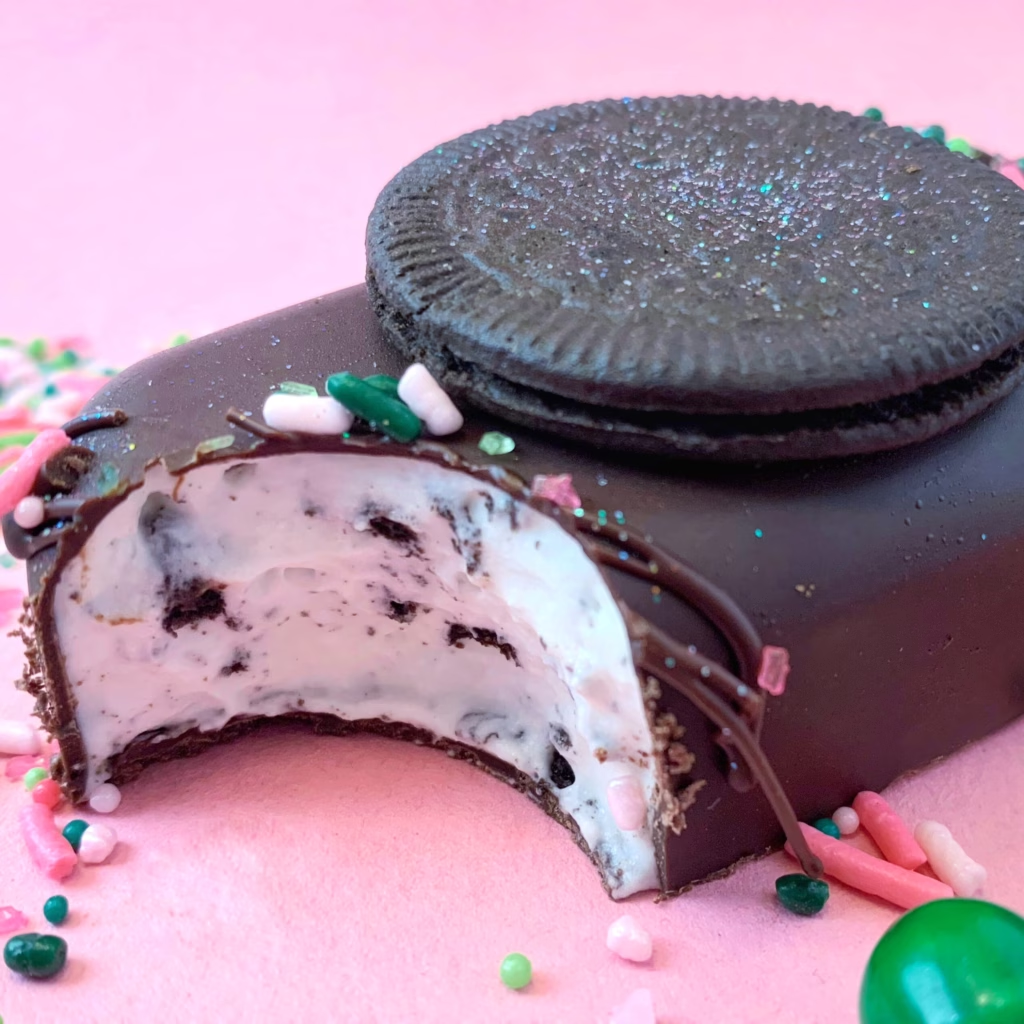
Recipes with Oreos:

Frequently Asked Questions:
Can I use milk or dark chocolate instead of white chocolate?
I haven’t tried a version with milk or dark chocolate but I believe you can; although keep in mind that the texture will change. If you do try it, please let me know in the comments how it went!
What kind of cream should I use?
Use whipping cream or heavy cream with at least 30 to 35% fat. Anything lower might not give you the smooth texture you want.
Does the cream have to be cold?
If your cream is refrigerated, you can add it straight to the bowl with the chocolate and microwave them together, that’s what I did. If your cream is shelf-stable, it’s fine to use at room temperature. Either way, the key is heating the cream and chocolate together so the chocolate melts smoothly.
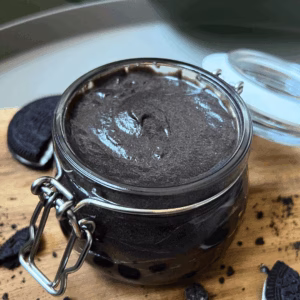
How should I store this spread?
Store the Oreo spread in an airtight container in the fridge. When you’re ready to use it, it’s completely spreadable straight out of the fridge so no need to remove it ahead.
How long does the Oreo spread last?
This spread can last up to 2 weeks in the fridge if stored in an airtight container. It contains cream and butter, so it should be kept chilled, but the sugar and chocolate help preserve it longer than something like fresh frosting. Just make sure to always use a clean spoon when scooping to avoid introducing any moisture or crumbs that could spoil it faster.
If you ever notice a sour smell, changes in texture, or mold (rare, but still), it’s time to toss it.
⭐️ If you tried this recipe, be sure to leave a rating and share your thoughts in the comments below. I’d love to hear your feedback!
Oreo Spread Recipe
Ingredients
- 8 Oreo Cookies
- 40 g White Chocolate
- 40 g Whipping Cream (30-35% fat)
- 40 g Unsalted Butter
Instructions
- Add the Oreo cookies to a blender or food processor and blend until you get fine crumbs.

- In a microwave-safe bowl, combine the white chocolate and cream. Microwave for 30 seconds, then stir until fully melted and smooth.
- Pour the chocolate mixture over the crushed Oreos and blend to combine. The mixture should be a bit runny and grainy.
- Add the cold butter and blend again until the mixture turns into a smooth cream. This usually takes 30 to 60 seconds, depending on your blender.Keep the mixture in the blender and refrigerate for 30 to 45 minutes.
- Once chilled, pulse the mixture a few times (I did about 6) until it becomes fluffy and buttery in texture. That’s when it’s ready.
Video
Notes
- Nutrition info is estimated and may vary based on ingredients and portions. For the most accurate details, consider using a nutrition tool or checking our full Nutrition Information Disclaimer.
- Video filmed using Arkon’s Remarkable Creator™ Pro+Plus Mount w/Ring Light (Code Buttercut for $$ off).


Leave a Reply