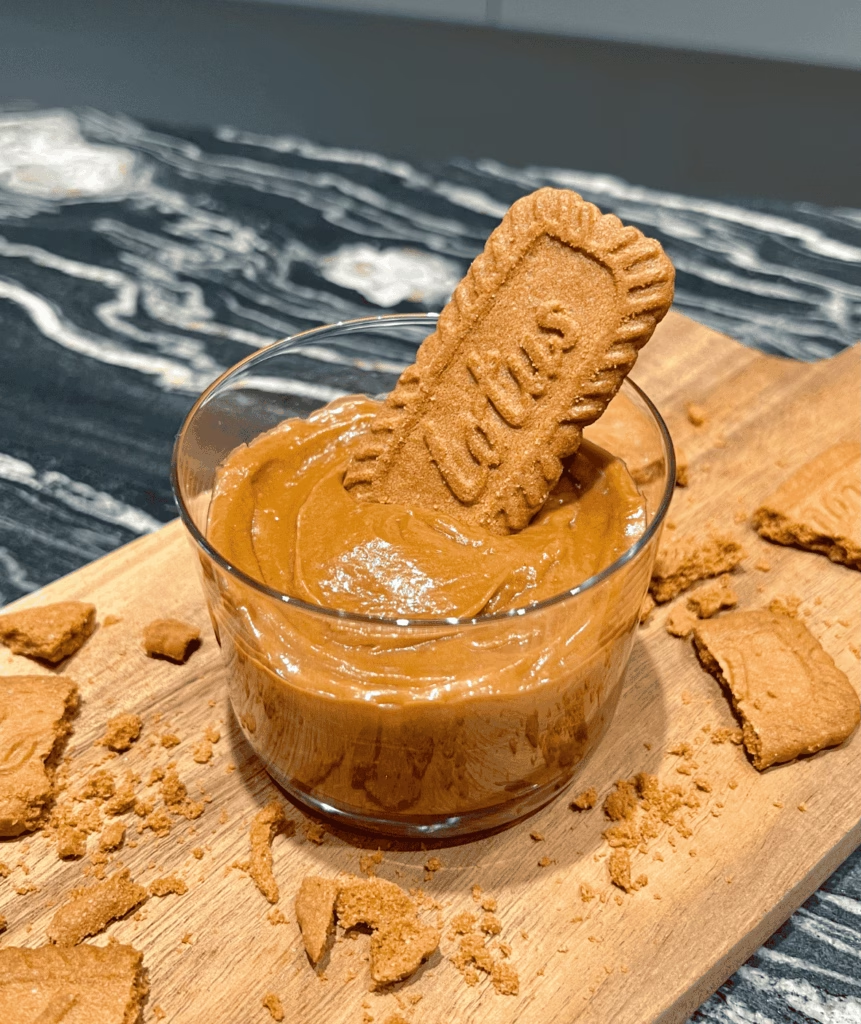
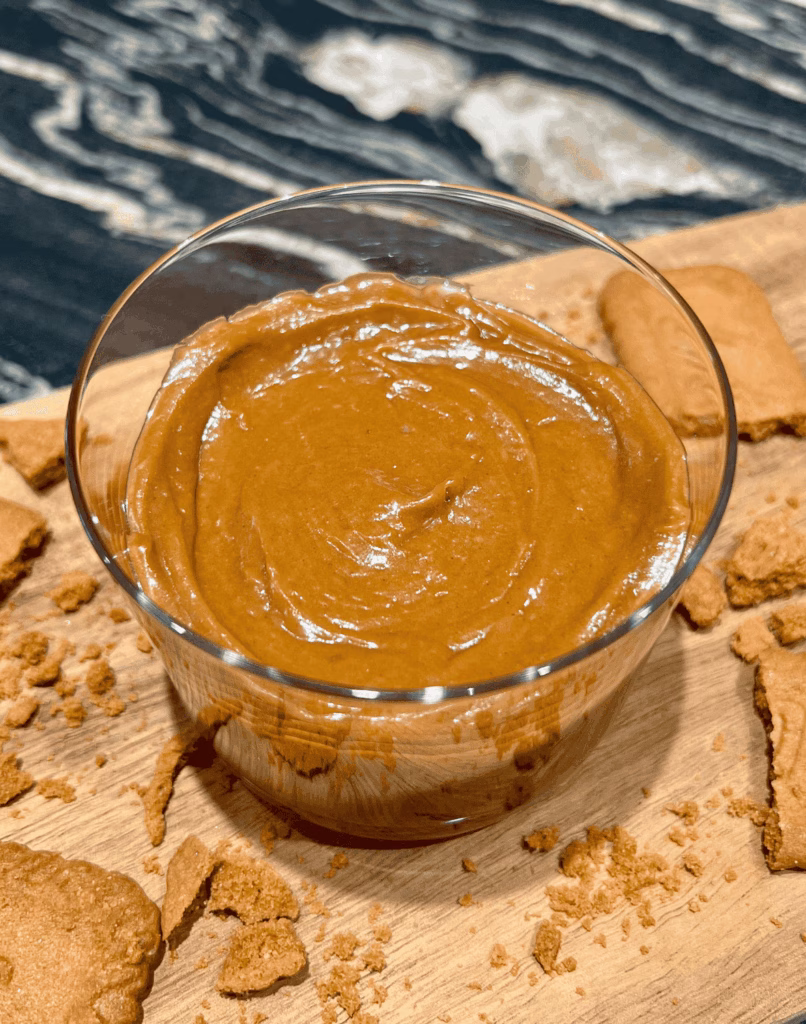
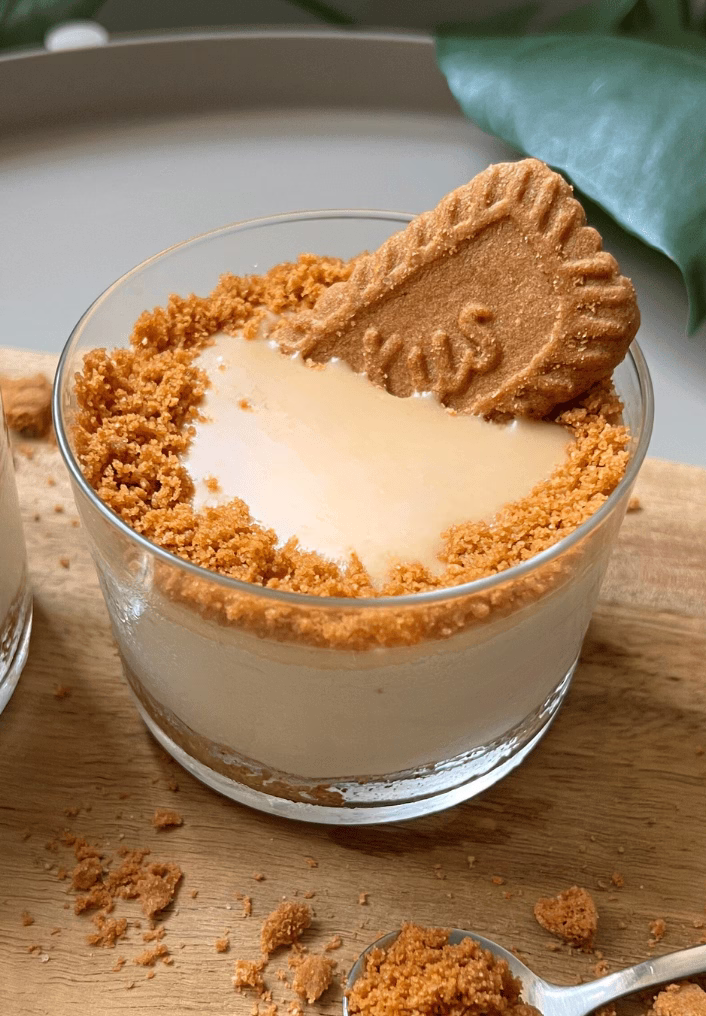
This 3-ingredient Lotus Biscoff spread takes just 5 minutes to make. Creamy, rich, and full of flavor. No cooking needed, just blend and enjoy.
Published: June 4, 2025 by Pamela. Updated on October 4, 2025.
This post may contain affiliate links. Please read our disclosure policy.
I don’t know how many times I tried to perfect this recipe. I swear I went through three packs of cookies before I was finally happy with the outcome. But honestly, every batch was a chance to test a little more and answer more questions.
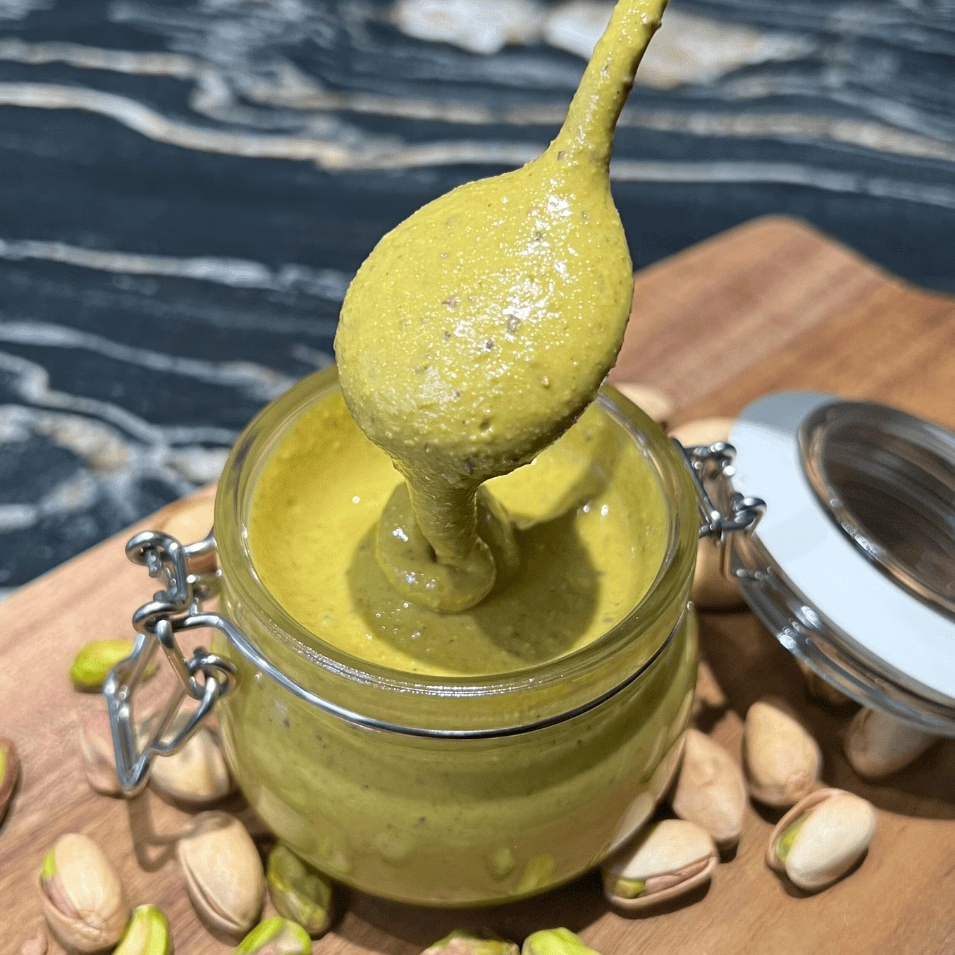
My biggest mistake? Wanting to add white chocolate like I always do. My pistachio spread recipe, for example, is just pistachios and white chocolate, and it’s really really good. So I figured it would work the same way here. I was wrong. The answer was butter. Of course. It makes total sense since the texture of Lotus spread is like peanut butter, more specifically Kraft peanut butter if you tried it (the green one)!
Anyway, you’re going to love this one. It’s so, so easy. All you need is a blender or a food processor and 3 ingredients. I’ll also share two optional add-ins that boost the flavor even more if you have them on hand. But if not, just stick to the base, it’s amazing on its own. Also, this spread stays smooth even after refrigeration which is so great too!
Ingredients to make Lotus Biscoff Spread Recipe:
- Biscoff Cookies: Yes, you do need actual Biscoff cookies to make Biscoff spread. I know some people wonder if they can swap them for something else or make the cookies from scratch, and technically you can, but it takes a long list of spices. Buying the pack is so much easier and, of course, you’ll get the closest taste of the actual spread.
- Evaporated Milk: You might be thinking, why not just use regular milk or even water? Water isn’t a great idea unless you’re cooking it down first, because it shortens shelf life and can make your spread spoil faster. As for regular milk, it adds too much moisture without enough creaminess. Evaporated milk, on the other hand, is thicker, richer, and blends beautifully. It gives the spread a smooth, velvety texture without watering it down.
- Unsalted Butter: Butter gives that soft, spreadable texture that makes it feel just like the real spread. It also balances the sweetness and brings in that melt-in-your-mouth finish. Make sure it’s unsalted though, you don’t want the salt to cut through the flavour.
Add-Ins for Lotus Biscoff spread:
- Vanilla Extract & Cinnamon Powder (Optional): These are the two optional ingredients I mentioned earlier, and they really help boost the flavor. Cinnamon is one of the main spices in Biscoff cookies, so adding a little more makes the spread taste even better. Vanilla brings a soft, sweet touch and makes everything blend together nicely. If you already have them at home, great, if not, the basic version is still so good. I only used vanilla in the video to show you where to add it, although I love cinnamon (I add it to my coffee daily), but I wanted to keep the recipe the fewest ingredients possible.
Measurements are posted in the recipe card below the instructions.
How to make homemade Biscoff Spread: A step by step video
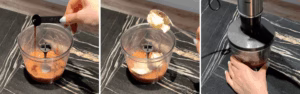
Instructions to make Lotus Biscoff spread recipe:
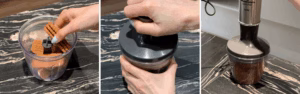
- Add the Biscoff cookies to a blender and blend until they turn into a fine powder. If you’re using cinnamon, add about ¼ teaspoon now (or adjust to your taste) and blend it with the cookies.

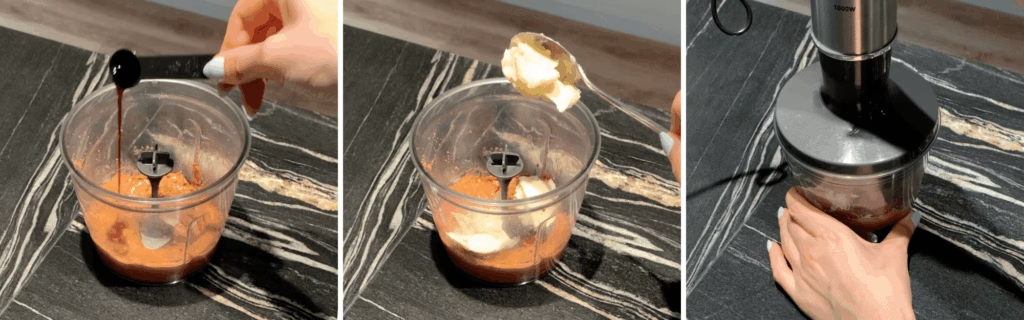
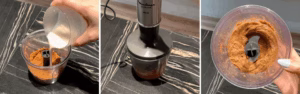
- Pour in the evaporated milk and blend again until everything is well mixed.

- If you’re using vanilla, add it here.
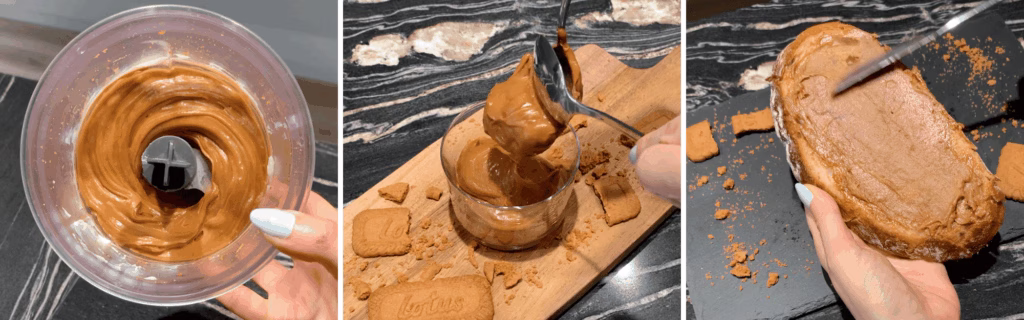
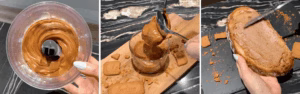
- Add the room temperature butter and blend for at least 30 seconds, but no more than a minute. The mixture should be smooth, glossy, and fully combined.
- Transfer the spread to a jar, cup, or container (make sure you cover it so it doesn’t for a crust on the top). Let it chill in the fridge for 30 minutes to thicken up and get that buttery texture. You can use it right away, but it’ll be a bit softer than the classic Lotus spread.
👉🏻 Popular Spreads you might like:
Frequently Asked Questions:
Can I use regular milk instead of evaporated milk?
I don’t recommend using regular milk as-is. It’s too watery and can make the spread too thin. But you can make evaporated milk at home! Just simmer regular milk on the stove until it reduces by about half. This makes it thicker and creamier, just like canned evaporated milk. Let it cool before using it in the recipe.
Can I make this without a blender?
A food processor works too! You just need something strong enough to break down the cookies and mix everything until smooth.
Can I double the recipe?
Absolutely! Just make sure your blender or food processor is big enough to handle it, and blend a little longer if needed.
How to store Biscoff Spread:
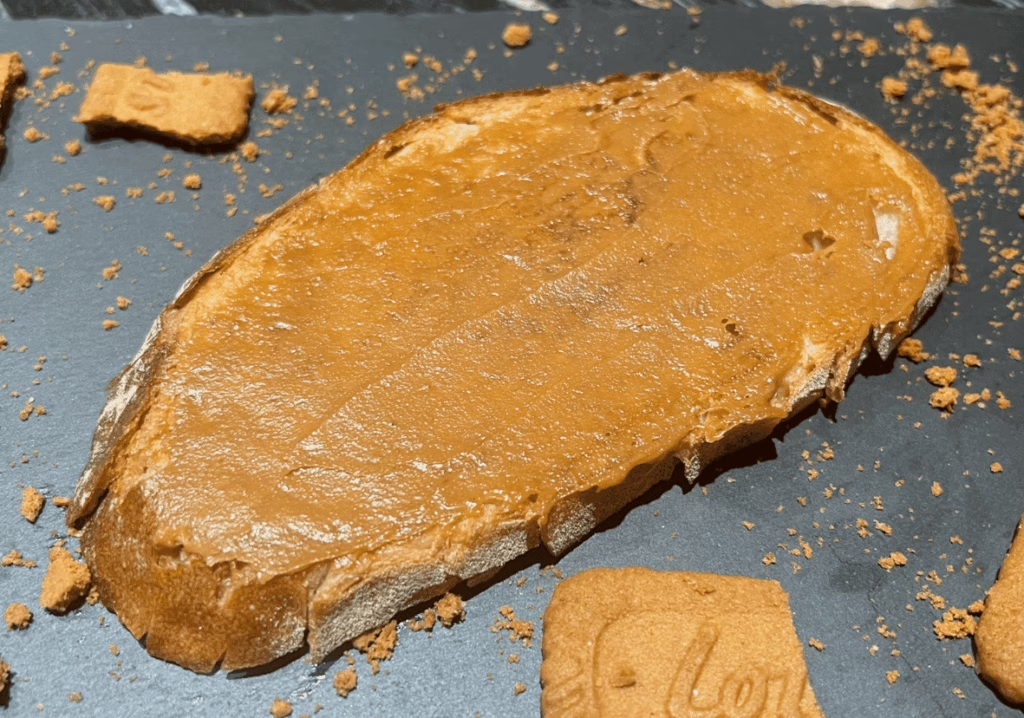
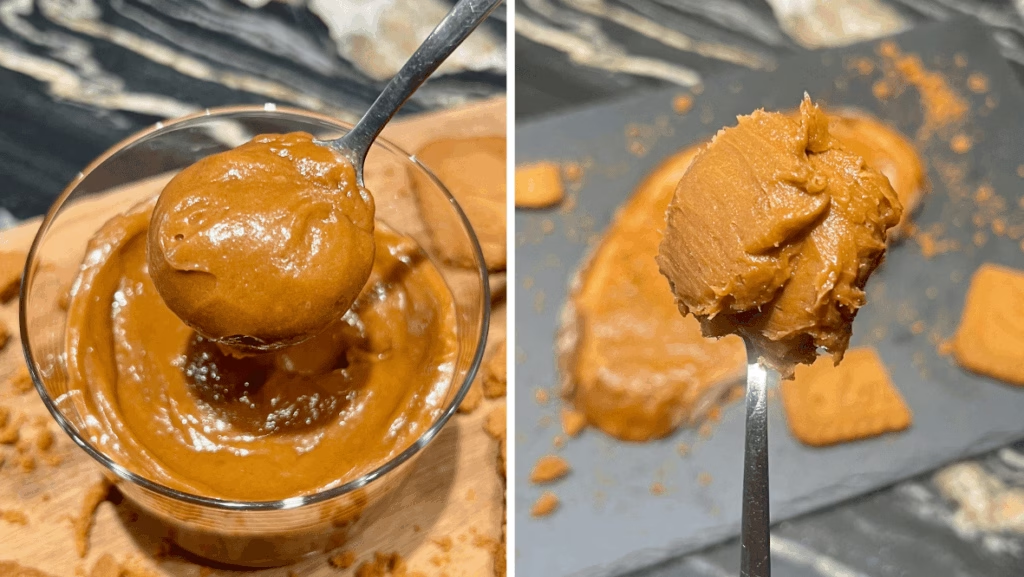
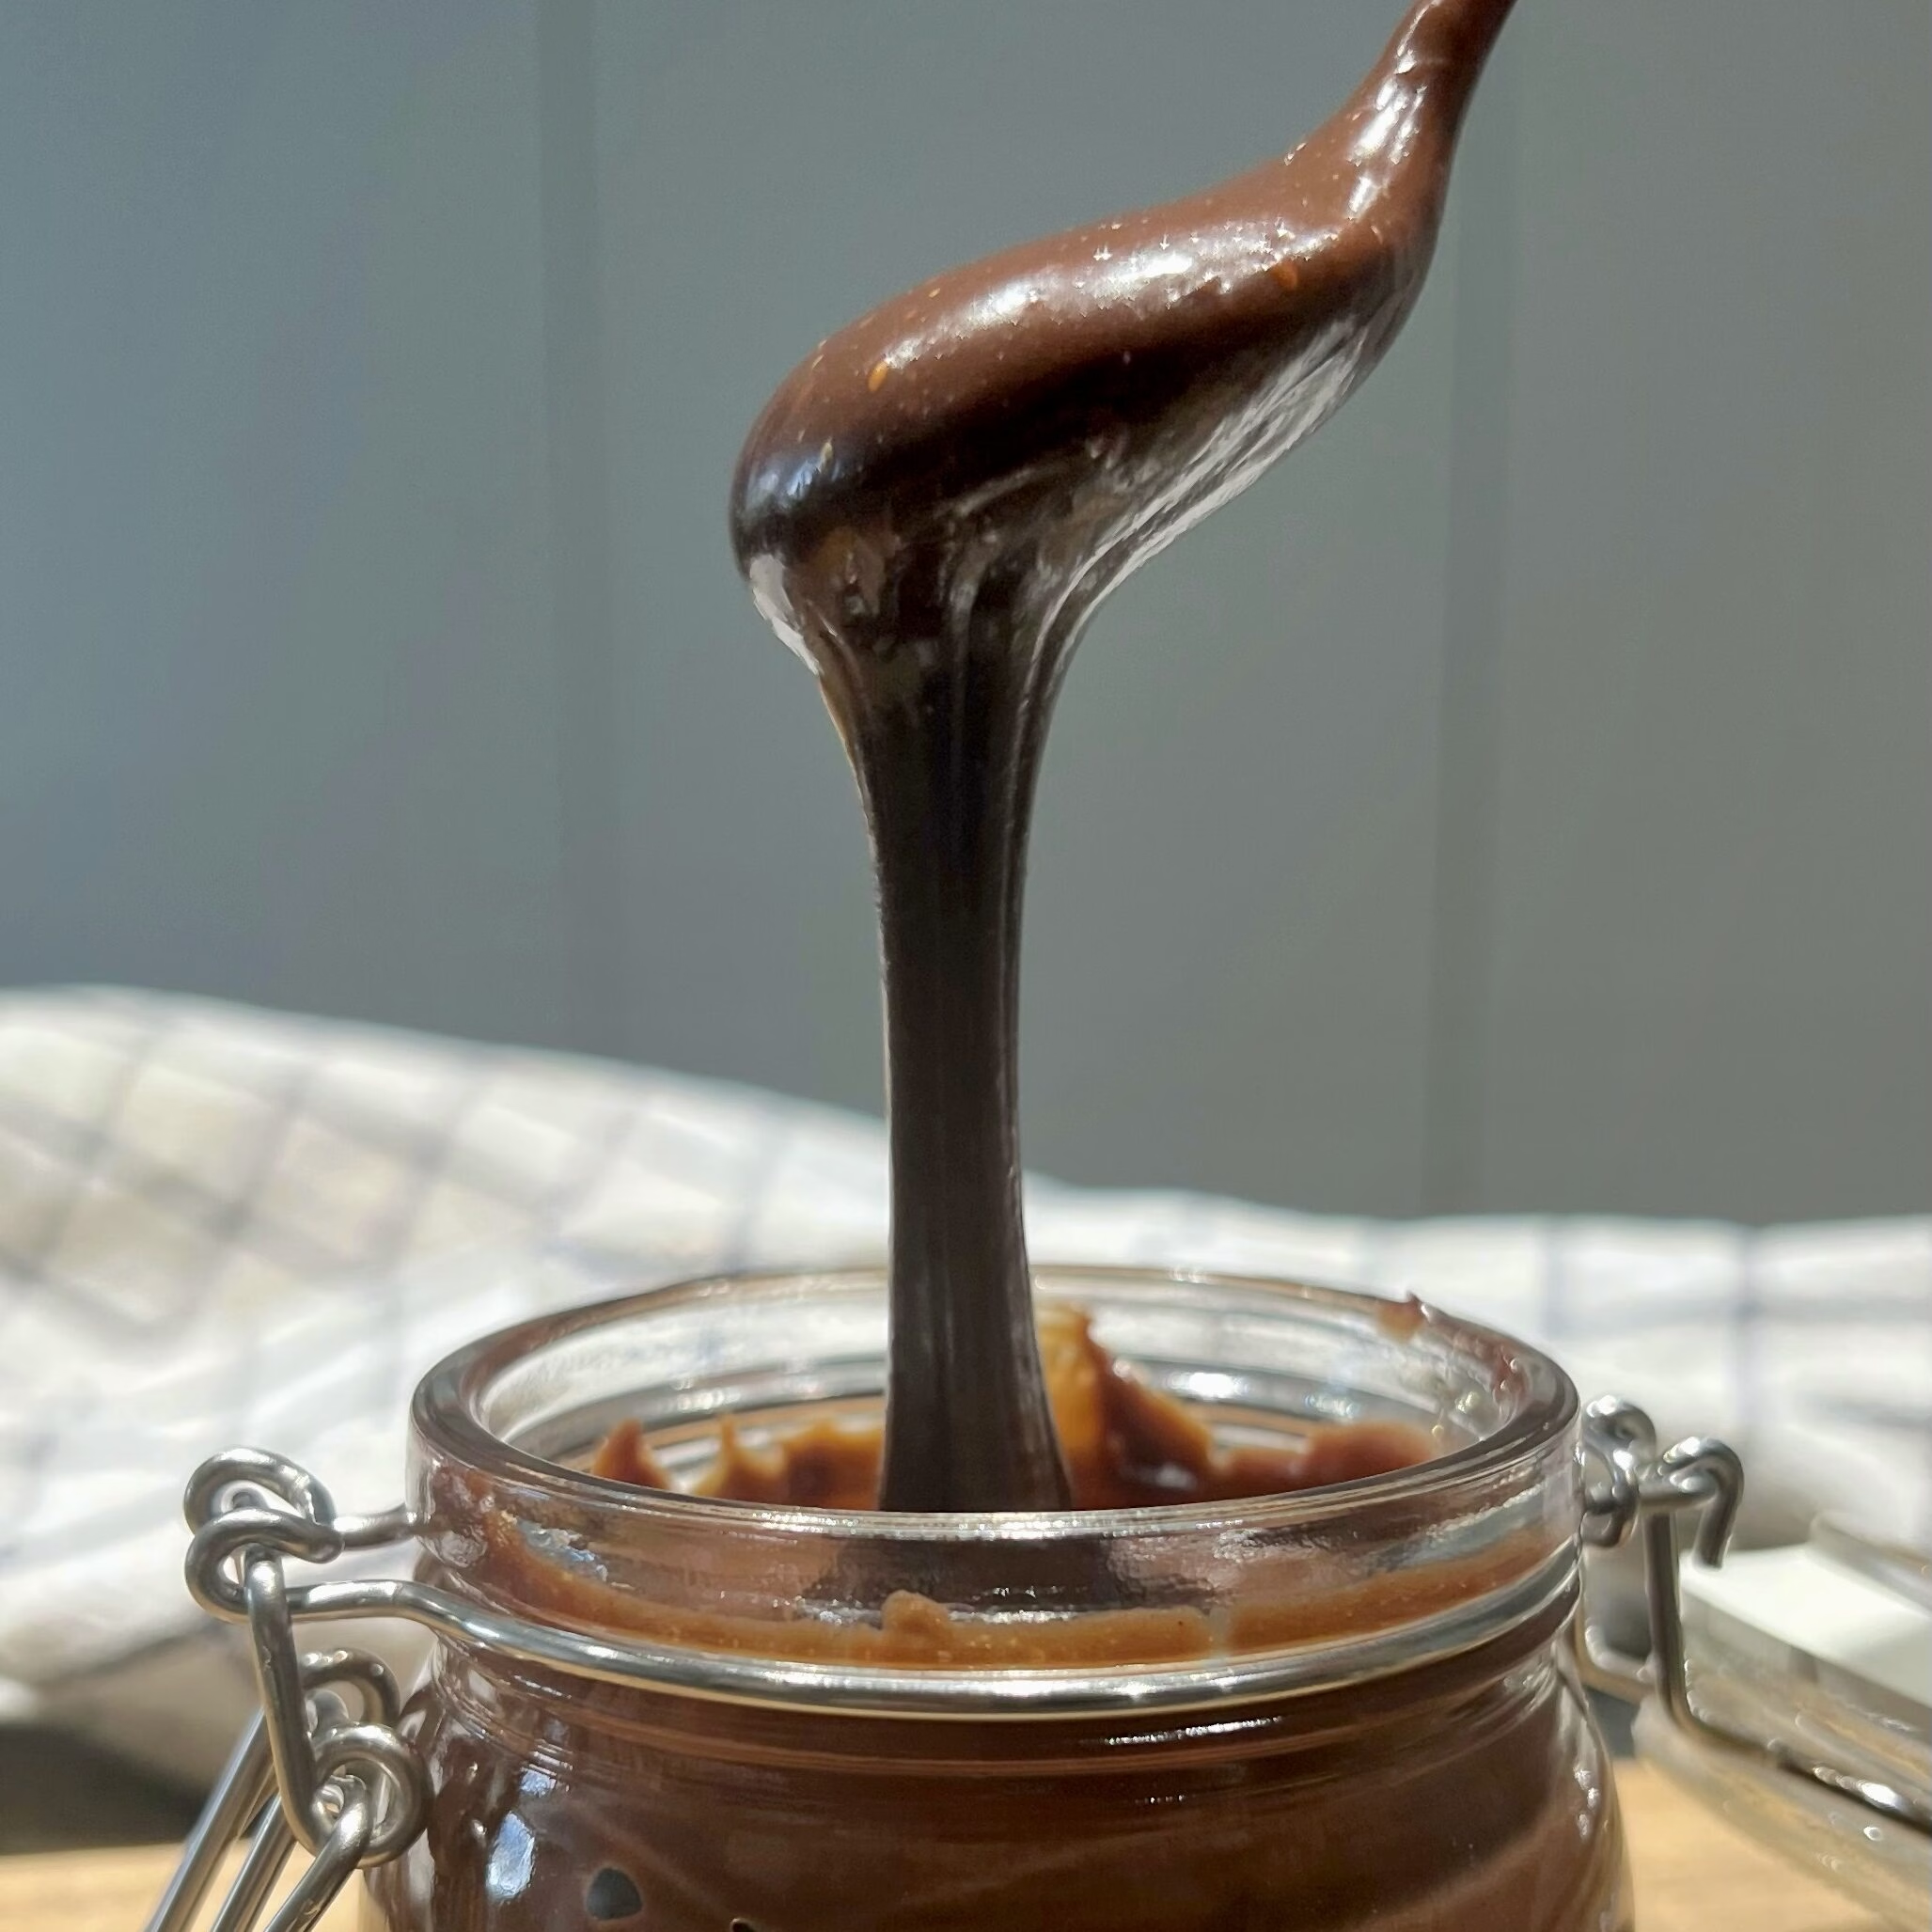
Store your Biscoff spread in a clean jar or airtight container in the fridge. It will keep for 10 days, because of the evaporated milk. The texture will firm up as it chills, just like the store-bought version, but even straight from the fridge, you can still spread it easily with a knife. If you prefer it a bit softer, just let it sit at room temperature for a few minutes (the first few seconds of the video below will show you the consistency after a day in the fridge, I also added a picture under the “Mistakes to avoid” section).
Mistakes to Avoid when making Biscoff spread recipe:
- Using cold butter: Cold butter won’t blend properly and can mess up the smooth texture. Always use butter that’s at room temperature. It should be soft when you press it but not melted.
- Over-blending: It might seem like blending longer will make the spread creamier, but it actually does the opposite. If you blend for too long, the butter can separate and make the spread greasy. Just blend for about 30 seconds to 1 minute, no more. For this recipe and the measurements used, I blended for 30 seconds on medium speed and it was ready.
- Skipping the chill time: Not really a mistake because you can eat it right away, but it won’t feel like the real store-bought spread, it’ll be softer. Letting it chill for 30 minutes helps it set and gives you that perfect spreadable texture.
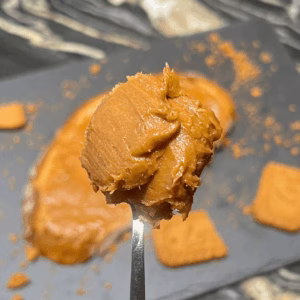
👇🏼The picture below shows the difference in texture before and after chilling.
Recipe you might like:
⭐️ If you tried this Biscoff Spread, be sure to leave a rating and share your thoughts in the comments below. I’d love to hear your feedback!
Lotus Biscoff Spread
Ingredients
- 10 Biscoff Cookies
- 3 Tbsp Evaporated Milk (38g)
- 45 g Unsalted Butter (About 3 Tbsp)
- Vanilla Extract & Cinnamon Powder (Optional)
Instructions
- Blend the cookies until fine and powdery. If using cinnamon, add about ¼ tsp now and blend with the cookies.
- Add evaporated milk, blend until smooth.
- If you are using Vanilla add about ½ a tsp. Add room temperature butter and blend for 30–60 seconds until fully combined and creamy.
- Transfer to a jar or container. Chill for 30 minutes for the perfect texture, or use right away if you don’t mind it a bit softer.
Video
Notes
- Nutrition info is estimated and may vary based on ingredients and portions. For the most accurate details, consider using a nutrition tool or checking our full Nutrition Information Disclaimer.
- Video filmed using Arkon’s Remarkable Creator™ Pro+Plus Mount w/Ring Light (Code Buttercut for $$ off).
Nutrition
If you’re looking for more easy to make spreads that have very few ingredients and take less than 10 minutes to make, you will like:


Leave a Reply