You don’t need a cherry pitter to remove cherry pits, here’s a simple way to pit cherries with a tool you already have at home.

Published: July 16, 2025 by Pamela.
This post may contain affiliate links. Please read our disclosure policy.
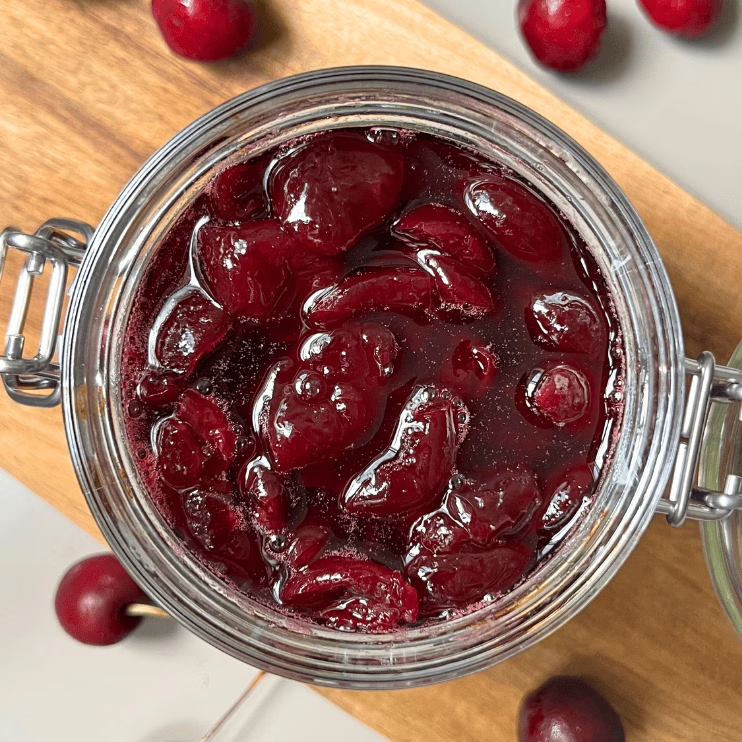
It’s cherry season, and my kitchen has been full of them. I just filmed my cherry jam recipe; it’s sweet, simple, and honestly has one of the most beautiful jam colors! It also makes a great edible gift, if you ask me. But while I was prepping everything, I quickly realized the one part that really tests your patience: getting those pits out. And since I don’t have a cherry pitter, I had to get creative.
I did a bit of research and saw that people use a straw to remove cherry pits. But it has to be a sturdy one: glass, hard plastic, or metal. And I thought, maybe not everyone has those reusable straws at home, so what else could work? I tried a chopstick… and that definitely tested my patience. Turns out, the tool really needs to be hollow for it to work well. So back to the straw I went, and yes, that’s the trick.
So then I looked at a few cherry pitters, and it all made sense, the metal part that goes into the cherry is hollow too. That’s why the straw works so well. It pushes the pit out cleanly instead of just squishing everything around.
🍒 Related Articles & Recipes:
What you need to remove cherry pits:
- A sturdy straw: it can be glass, metal, hard plastic, any material that will not bend because you will be applying a bit of force to remove the pits from the cherries.
How to remove cherry pits without a pitter:
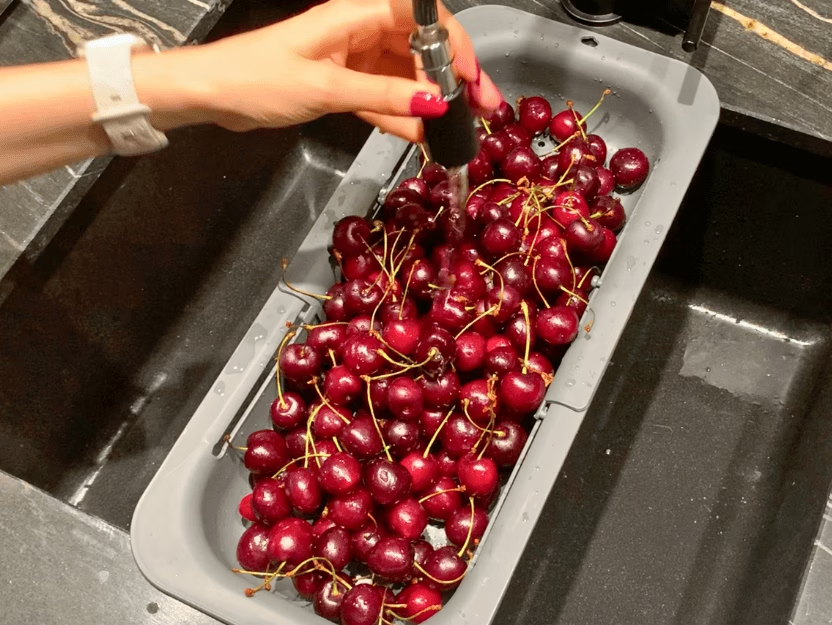
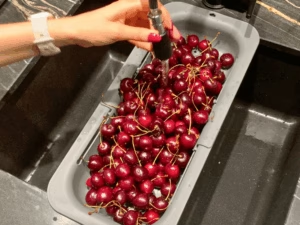
1. Start by washing the cherries well. Once they’re pitted, you won’t be able to do that. I have a full tutorial on how I was cherries if you want to check it out here.
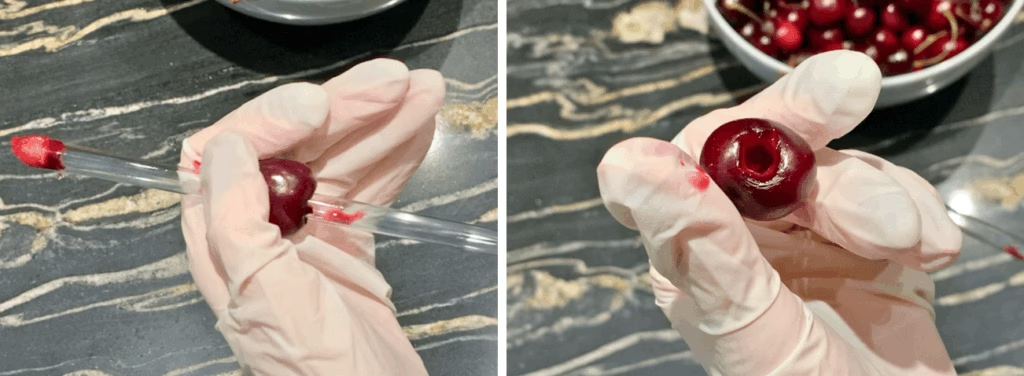
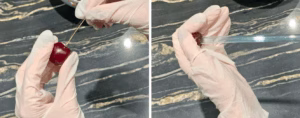
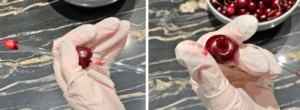
2. If the cherry has a stem, remove it. Grab a sturdy straw: glass, metal, or hard plastic works best.
3. Hold the cherry firmly with one hand, stem side up.
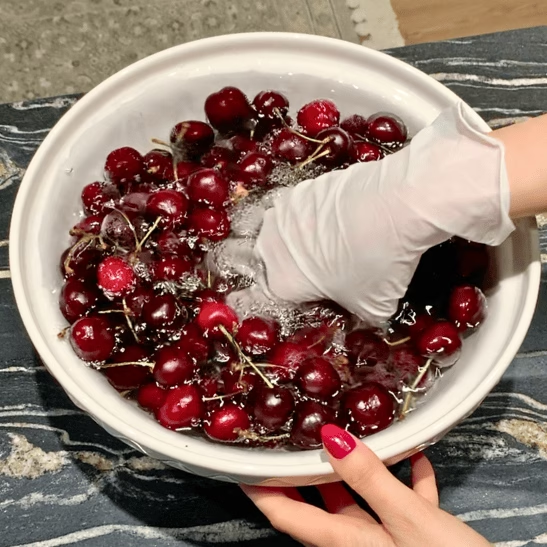
[Wear gloves if you don’t want red hands for days, cherries stain a lot. And don’t wear a white shirt unless you want it to look like a crime scene… just saying!]
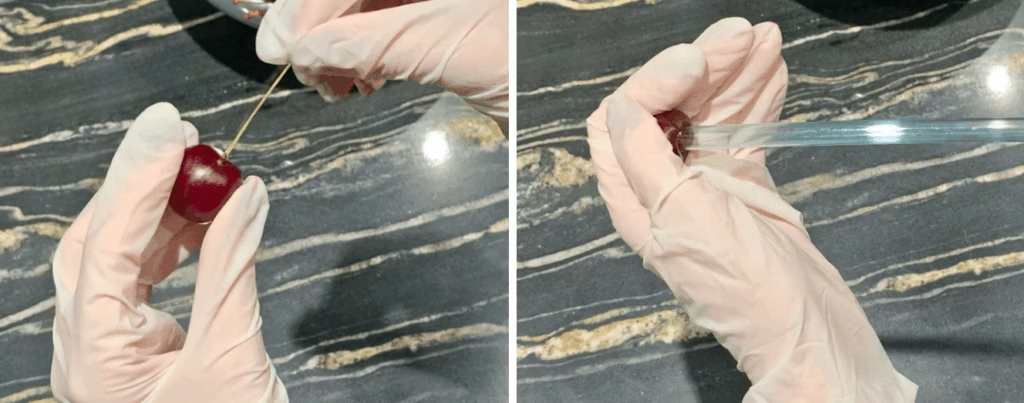
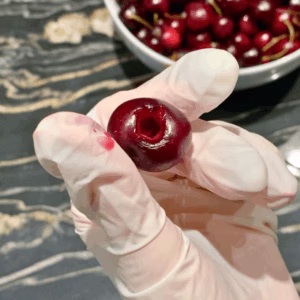
4. Place the straw where the stem was and gently push straight through the center. The pit should pop out the other side. You might need to wiggle the straw slightly, but it should slide through with a little pressure.
Tips to Remove Cherry Pits Cleanly:
- Use a rigid straw: A sturdy metal or reusable straw works best when you want to pit cherries without a pitter. Weak plastic straws bend too easily.
- Wear gloves: Cherries can stain your hands, so gloves are your best friend.
- Don’t wear your favorite white shirt: Splashes happen, and cherry juice is tough to remove from fabric.
- Work over a bowl: This keeps the juice contained and makes it easier to collect the pitted cherries.
- Twist gently instead of forcing: A light twist helps you remove cherry pits cleanly without squashing the fruit.
🍒 If you tried this method, be sure to leave a rating and share your thoughts in the comments below. I’d love to hear your feedback!
How to Pit Cherries
Equipment
- 1 Reusable Straw
- Cherries
Instructions
- Start by washing the cherries well. Once they’re pitted, you won’t be able to do that.
- Start by removing the stem, if any. Grab a sturdy straw: glass, metal, or hard plastic works best. Hold the cherry firmly with one hand, stem side up.
- Place the straw where the stem was and gently push straight through the center. The pit should pop out the other side. You might need to wiggle the straw slightly, but it should slide through with a little pressure.


Leave a Reply